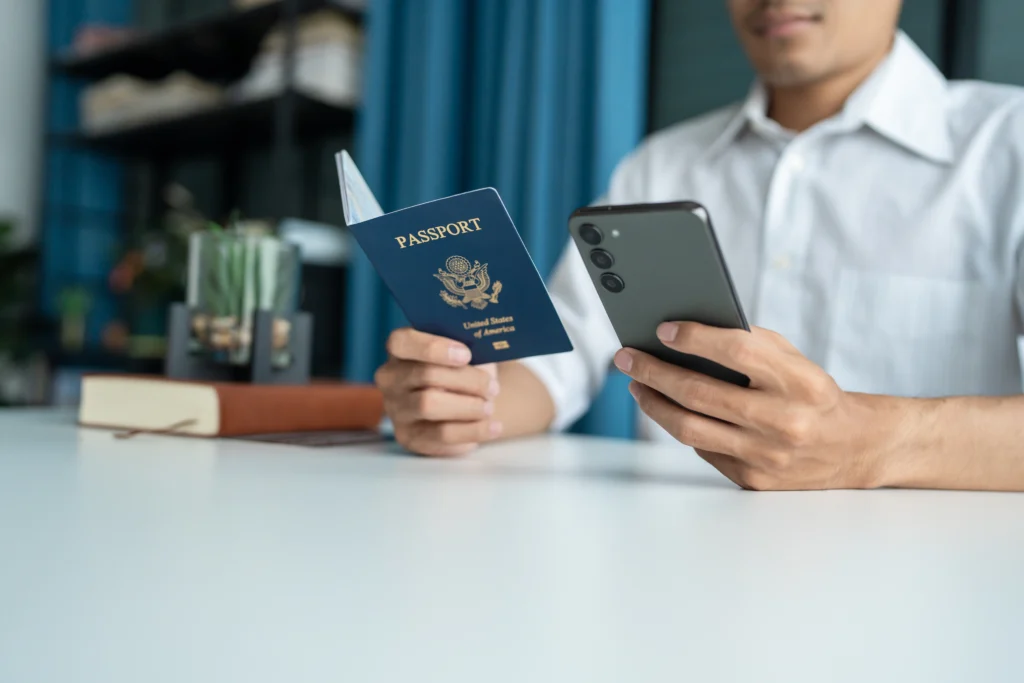
A permit worker is where the journey usually begins when someone starts thinking about working abroad. It is not just paperwork. It is the turning point between wanting a better opportunity and actually stepping into it. Many people keep searching, comparing countries, and asking questions, but everything connects back to this one thing.
Understanding how it works removes confusion and makes the path feel clear and possible.
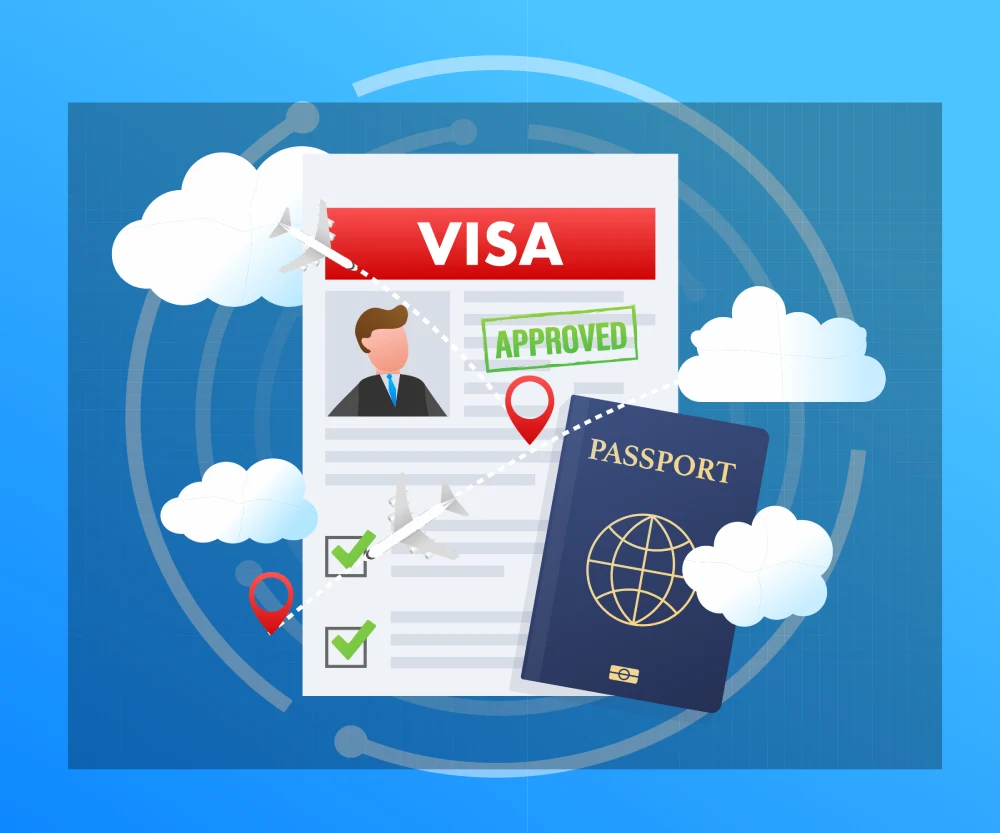
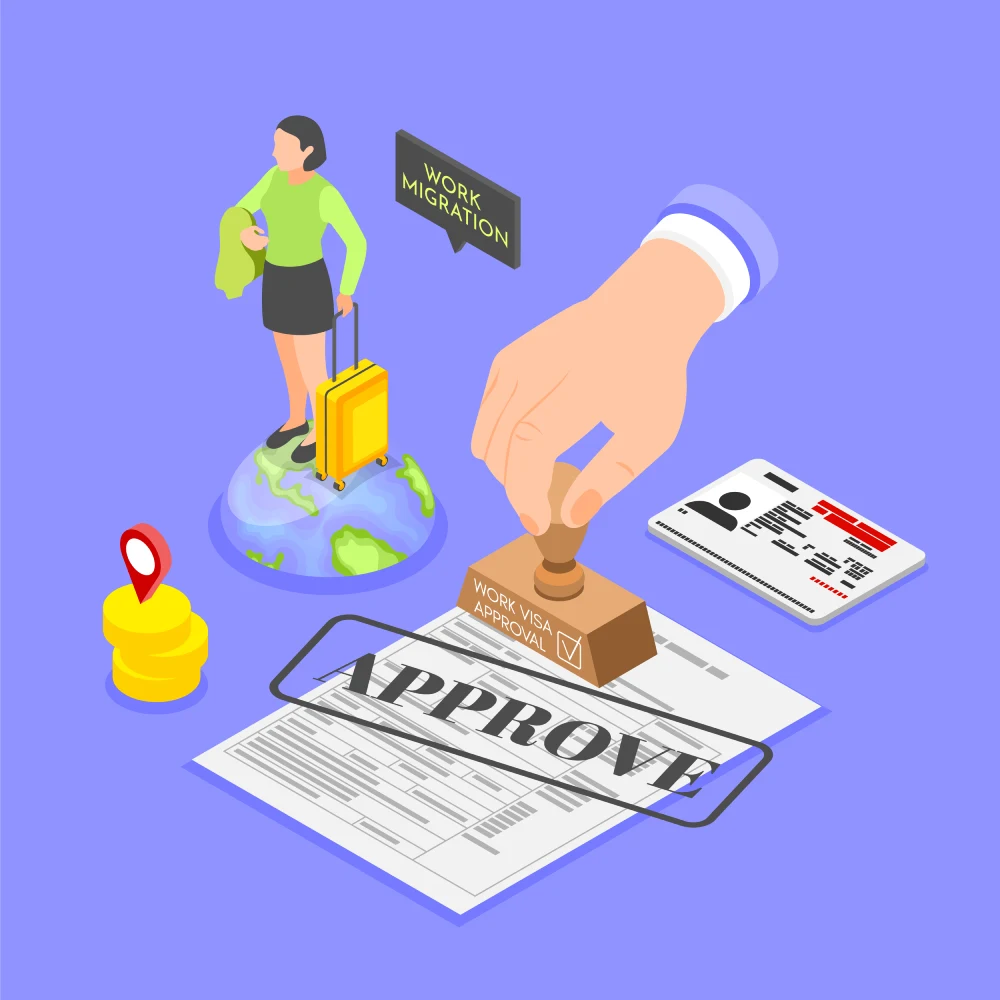
What a Work Permit Actually Does
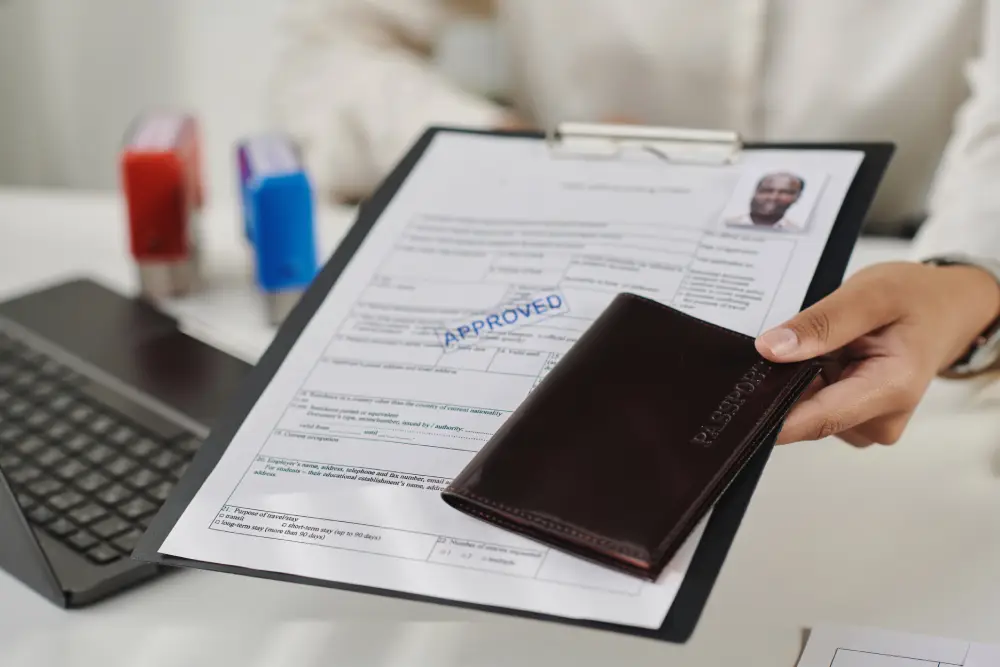
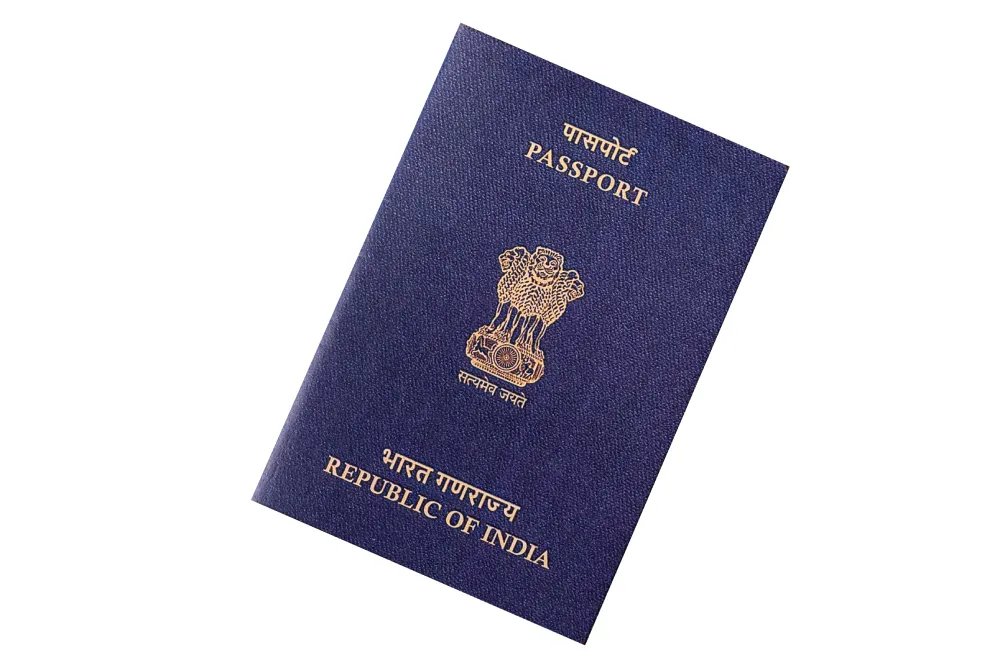
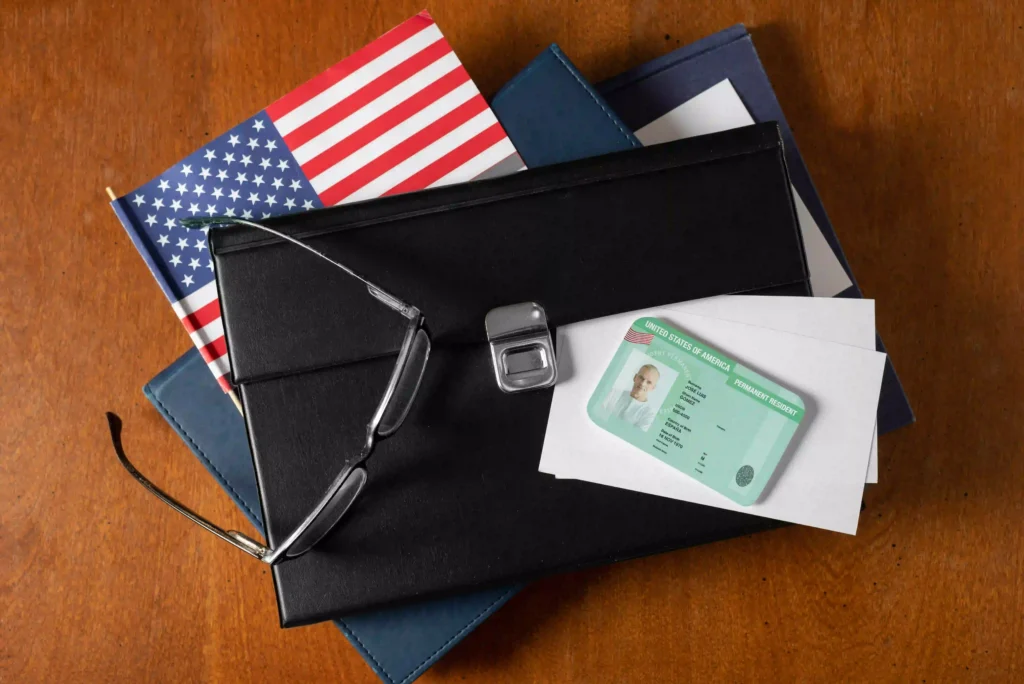
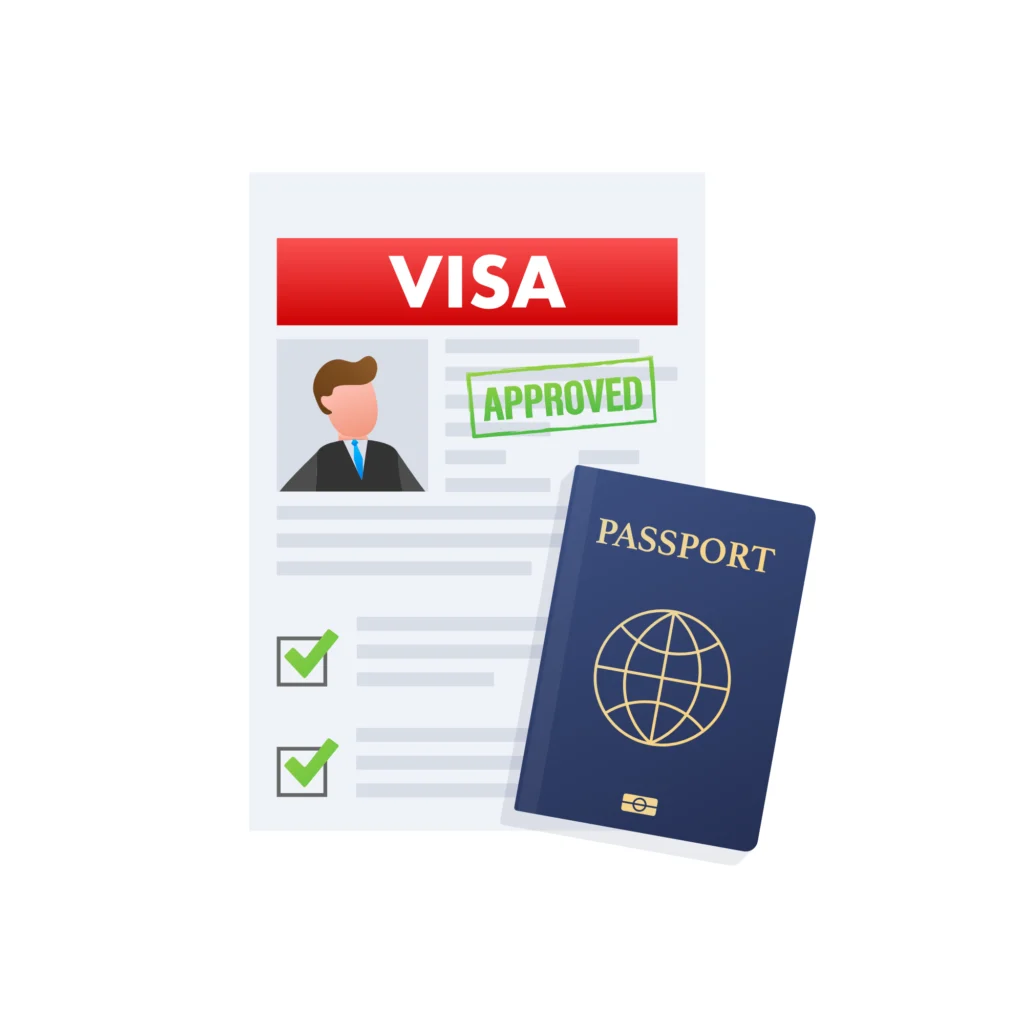
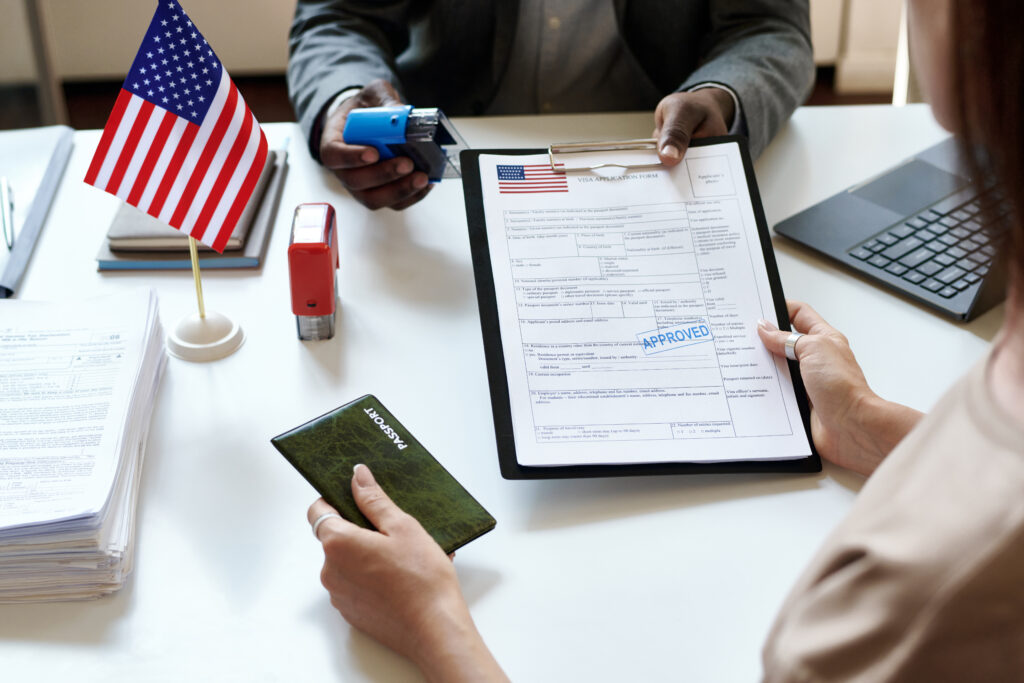
A work permit gives legal permission to earn in another country. It tells the system that a foreign permit worker is approved, verified, and allowed to be part of the workforce.
Without it, even the best job offer cannot move forward. With it, everything starts aligning.
It often comes together with terms like visa for working, work permit work visa, and american visa work, which people frequently search when planning their move.
Why People Seriously Consider a Work Permit
There is always a reason behind the decision. It is rarely random.
Some are looking for better income. Some want growth. Others want a completely different lifestyle.
What usually drives the decision
- Limited opportunities in local markets
- High demand for skills in other countries
- Better pay structures and benefits
- Long-term settlement goals
A work permit becomes the bridge between current reality and future plans.
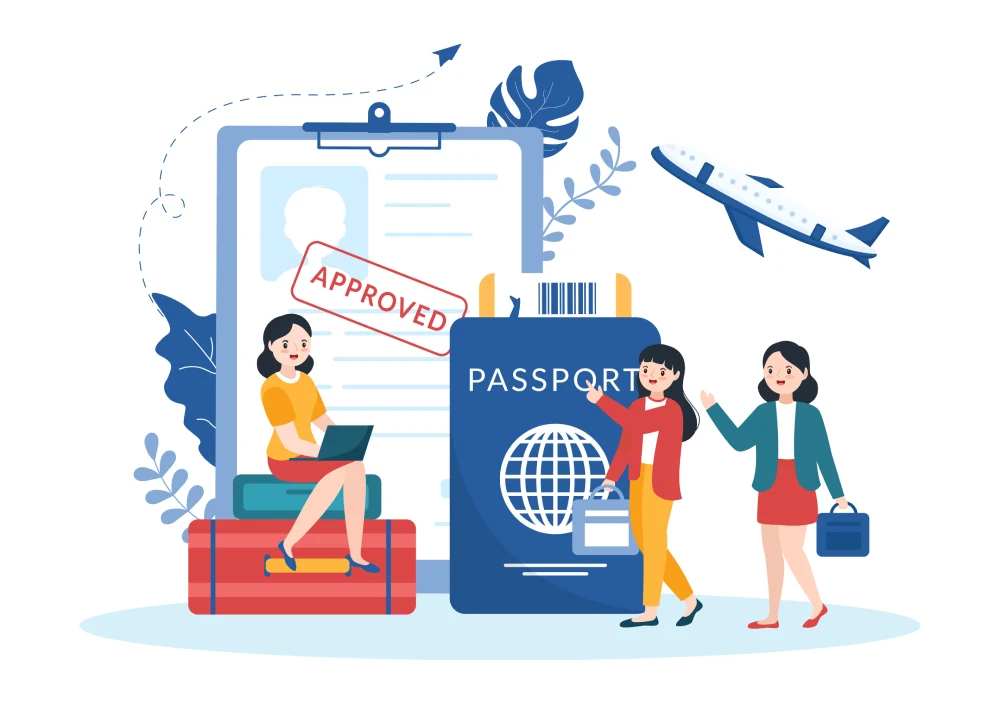
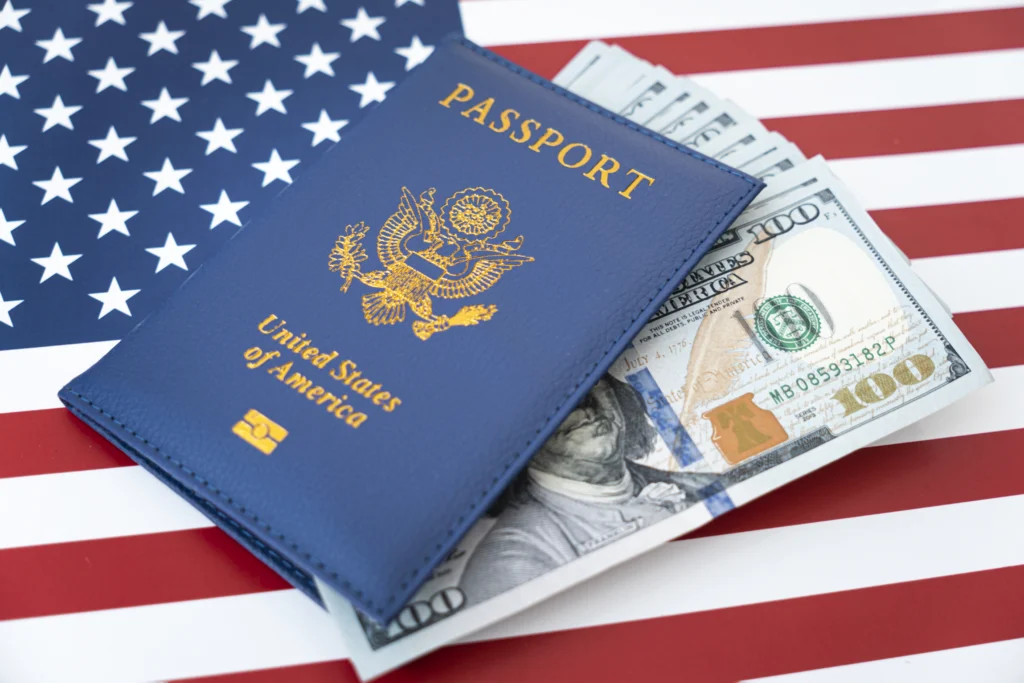
The Real Benefits of Being a Permit Worker
Income that actually makes a difference
A permit worker often earns in a stronger currency. That alone changes financial stability.
- Savings increase faster
- Ability to support family improves
- Lifestyle upgrades become possible
Even entry-level roles abroad can sometimes offer more than experienced roles locally.
Career growth that feels visible
Working internationally adds weight to experience. It is not just about working, it is about where the work happens.
- Exposure to global systems
- Better work environments
- Access to structured promotions
This directly improves chances in long-term visa careers.
A clear path toward staying longer
Many countries design their systems in a way where a work permit is just the first step.
- Start with temporary work
- Extend based on performance
- Move toward residency options
This makes long-term planning more realistic.
Personal development without even trying
Living in a new place changes habits, thinking, and confidence.
- Communication becomes stronger
- Decision-making improves
- Adaptability increases naturally
These are things that stay useful for life.
Different Types of Work Permits Explained
Not every work permit works the same way. Understanding the difference helps in choosing the right path.
Temporary work permits
- Limited duration
- Usually tied to one employer
- Common for first-time applicants
Permanent work permits
- Long-term authorization
- More flexibility in job changes
- Stronger stability
Seasonal or guest worker permits
- Short-term roles
- Common in agriculture, tourism, events
- Often linked with visa work and holiday options
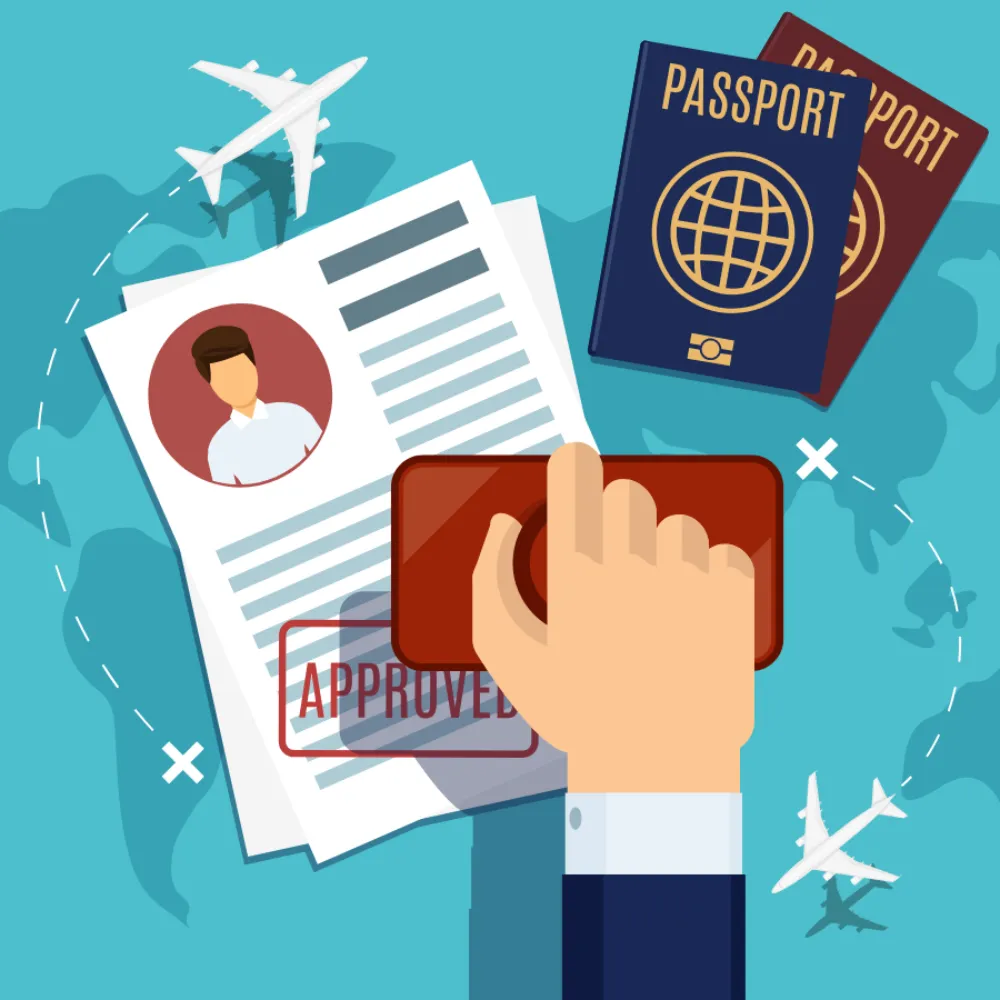
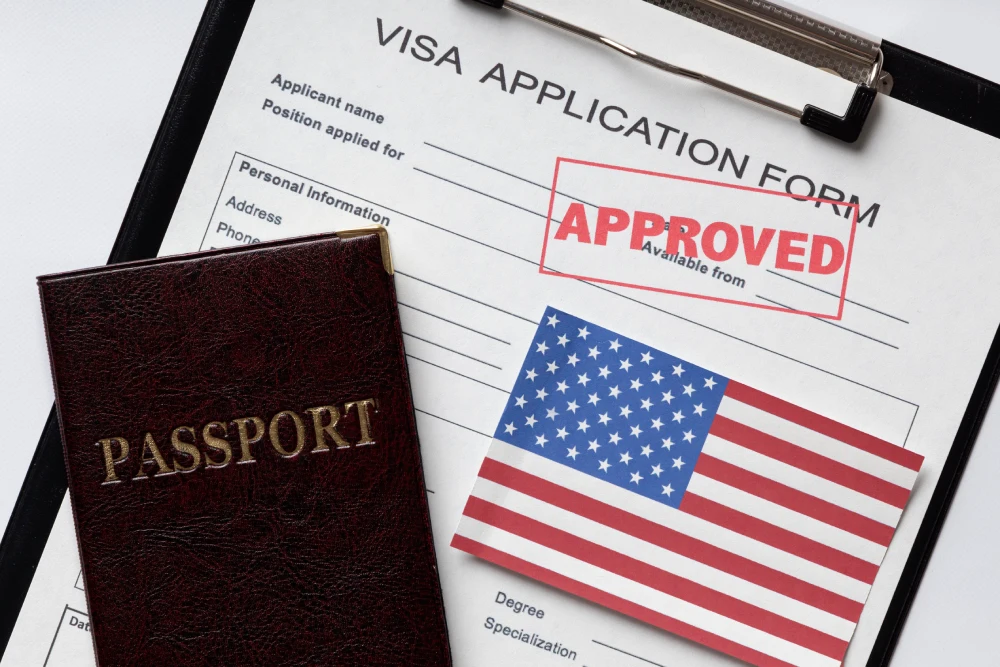
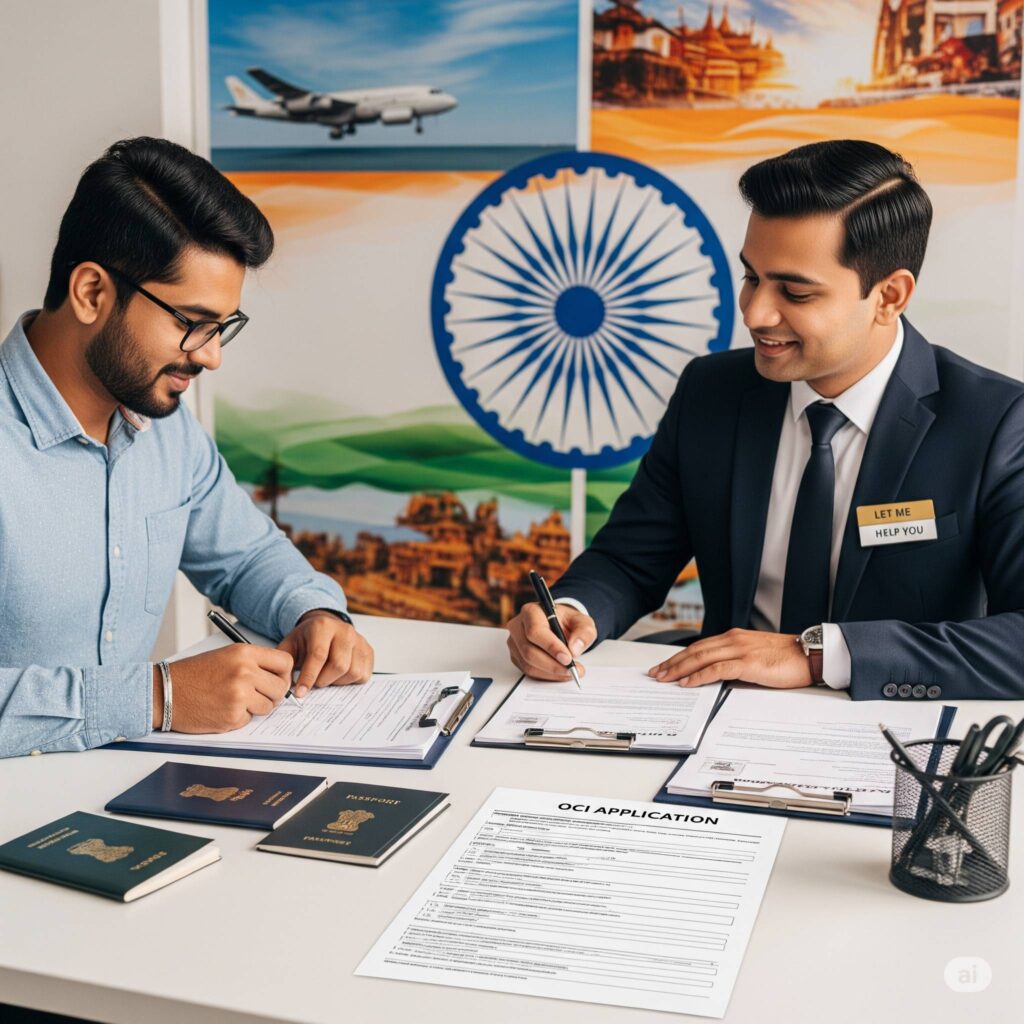
How Can I Obtain a Work Permit
This question comes up again and again: how can i obtain a work permit
The answer becomes simple when broken into steps.
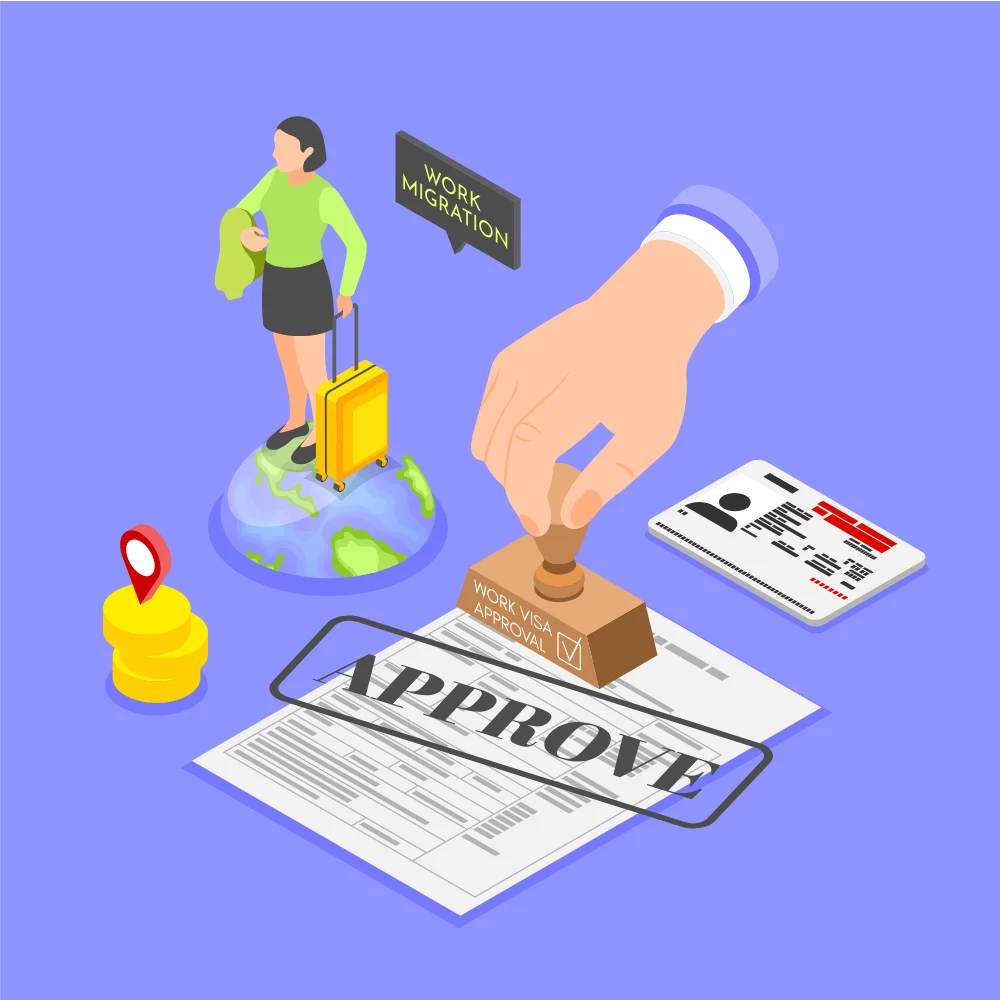
The actual process
- Start by applying for jobs abroad
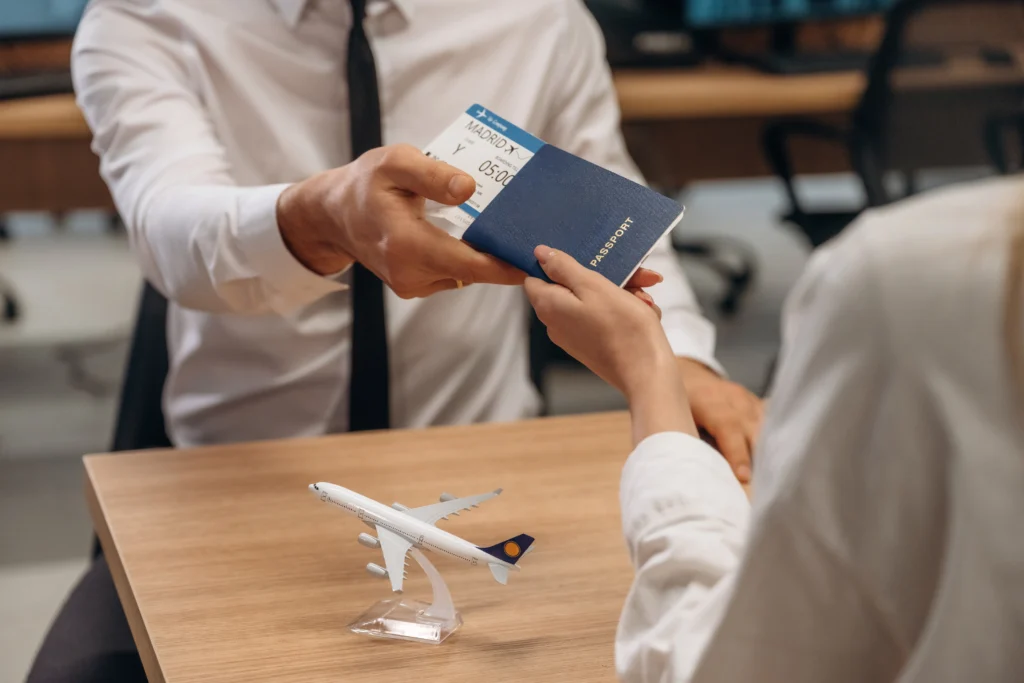
- Secure a confirmed job offer
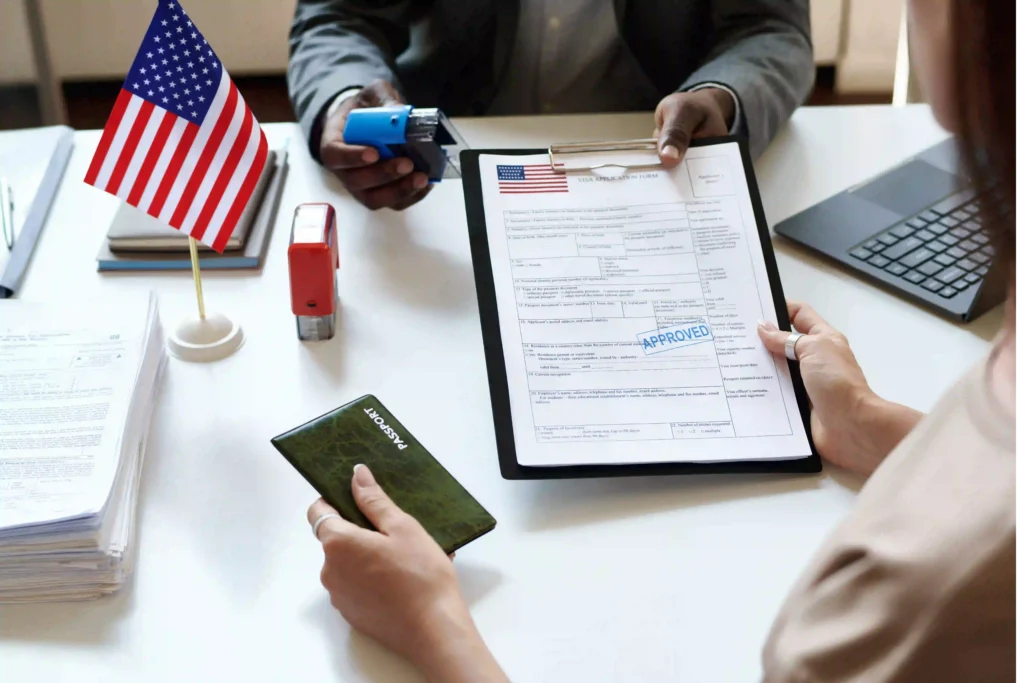
- Employer begins sponsorship
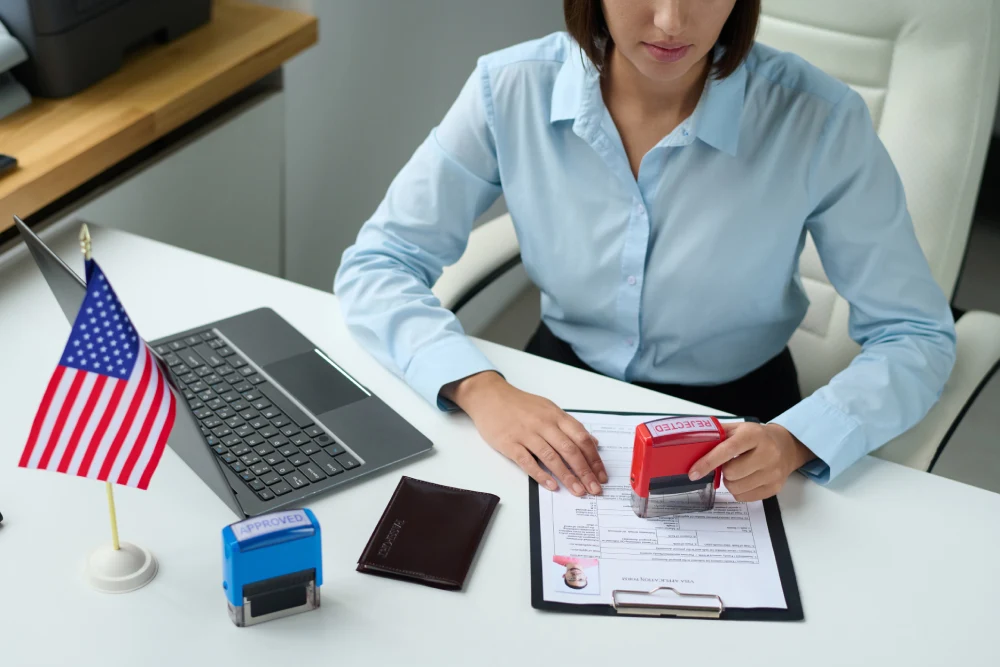
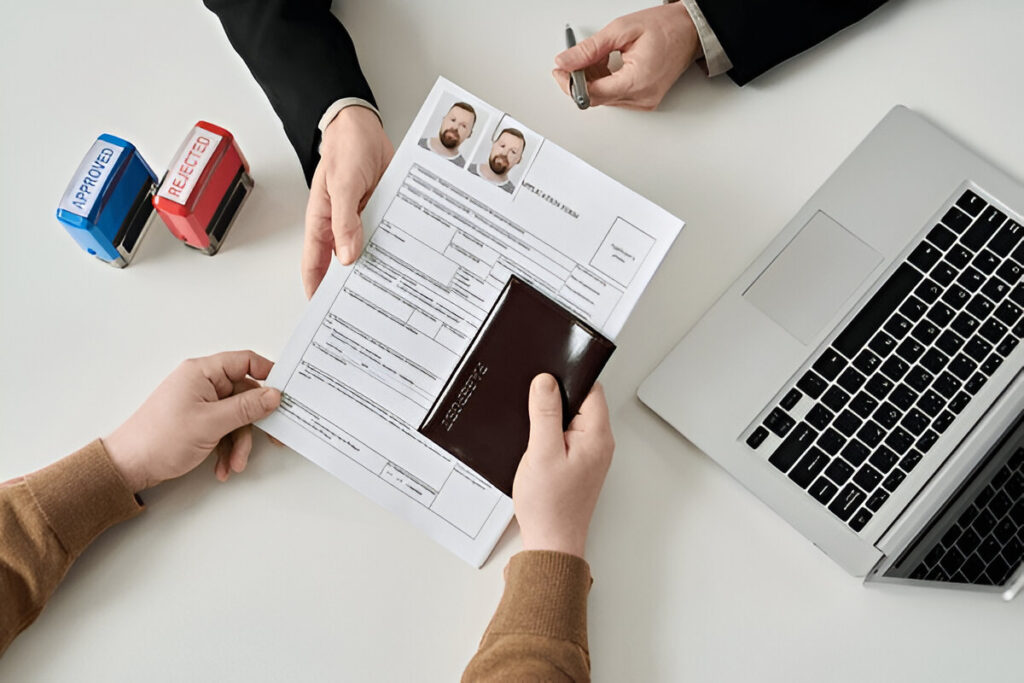
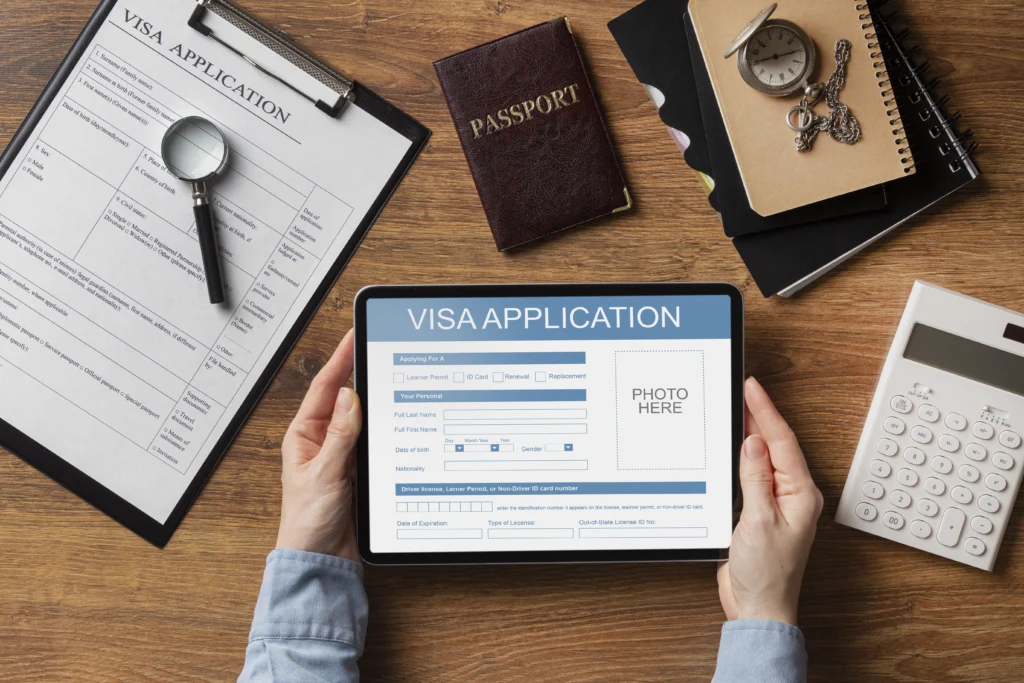
- Submit a work permit application
- Provide documents and verification
- Wait for approval decision
It may feel long, but each step has a purpose.
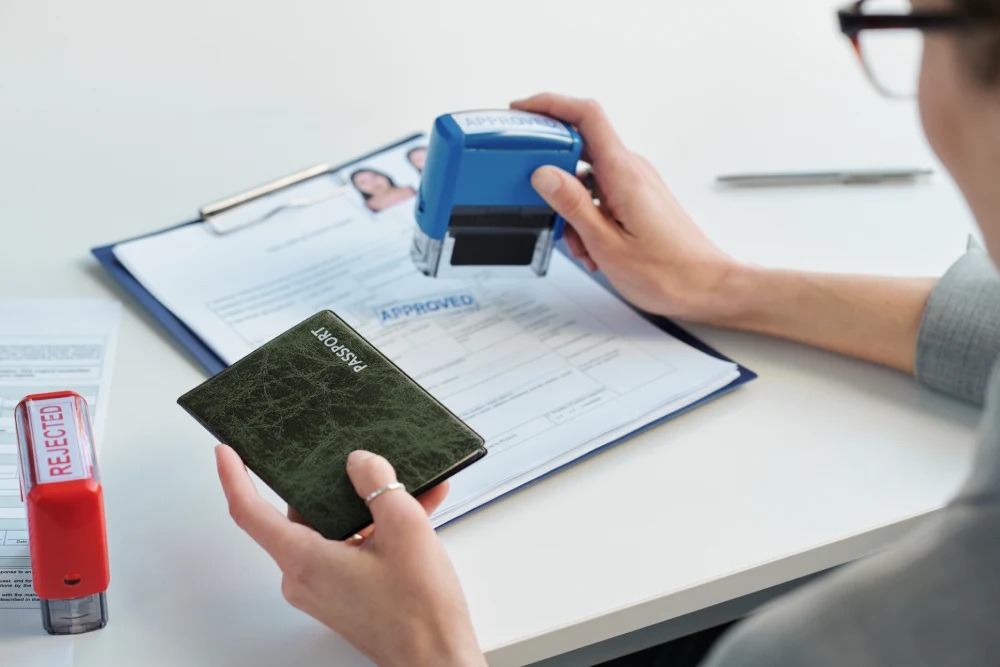
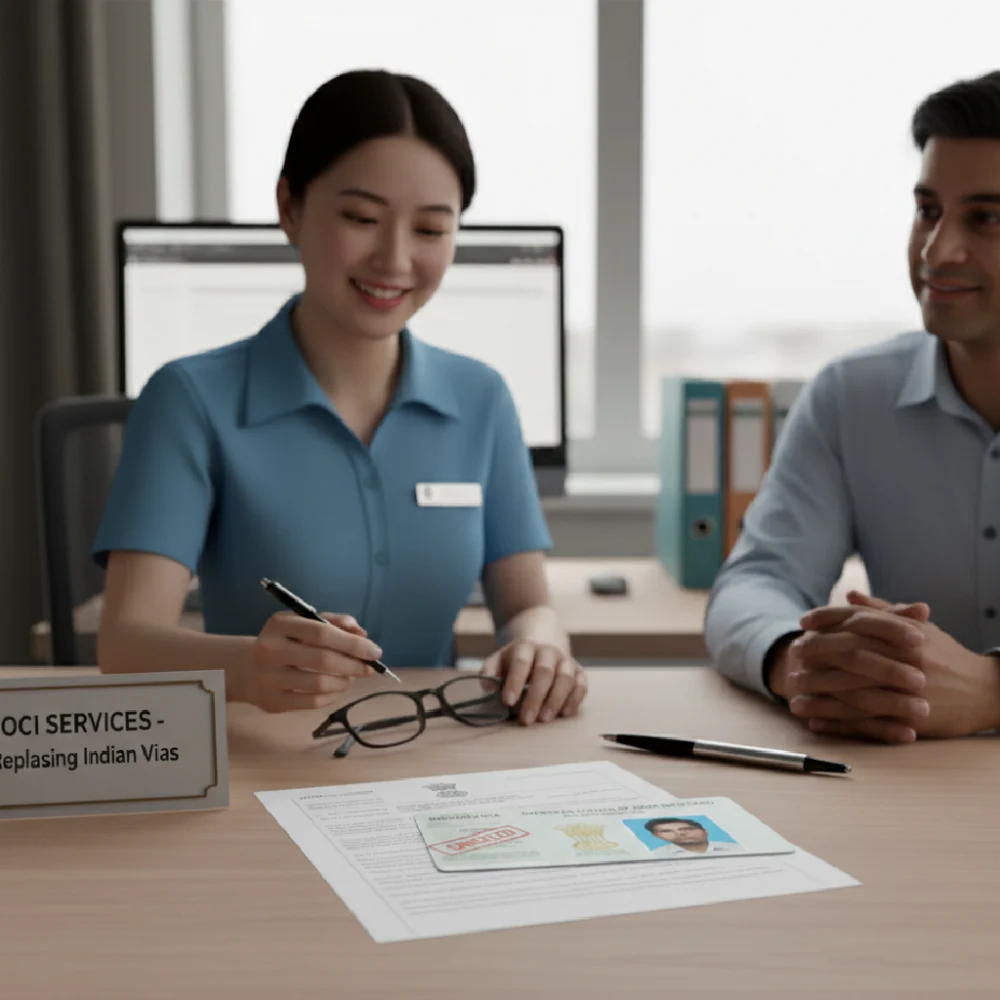
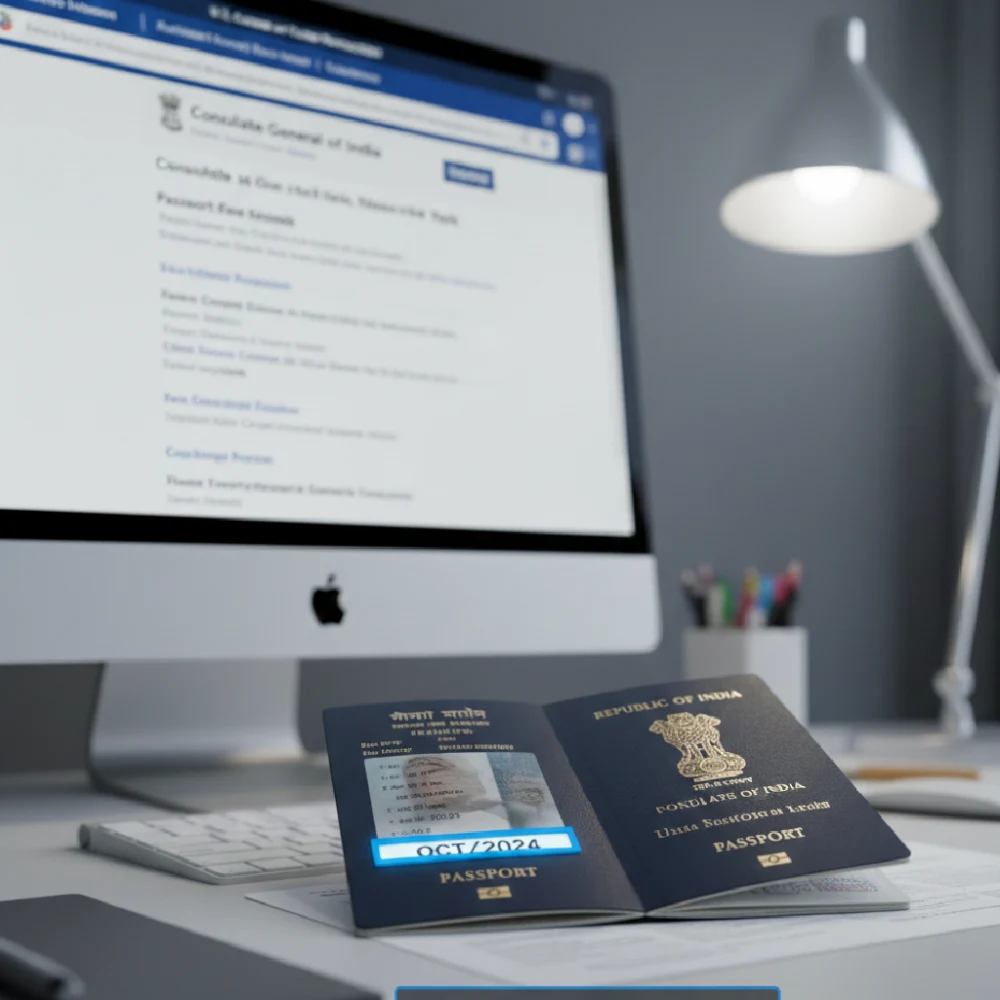
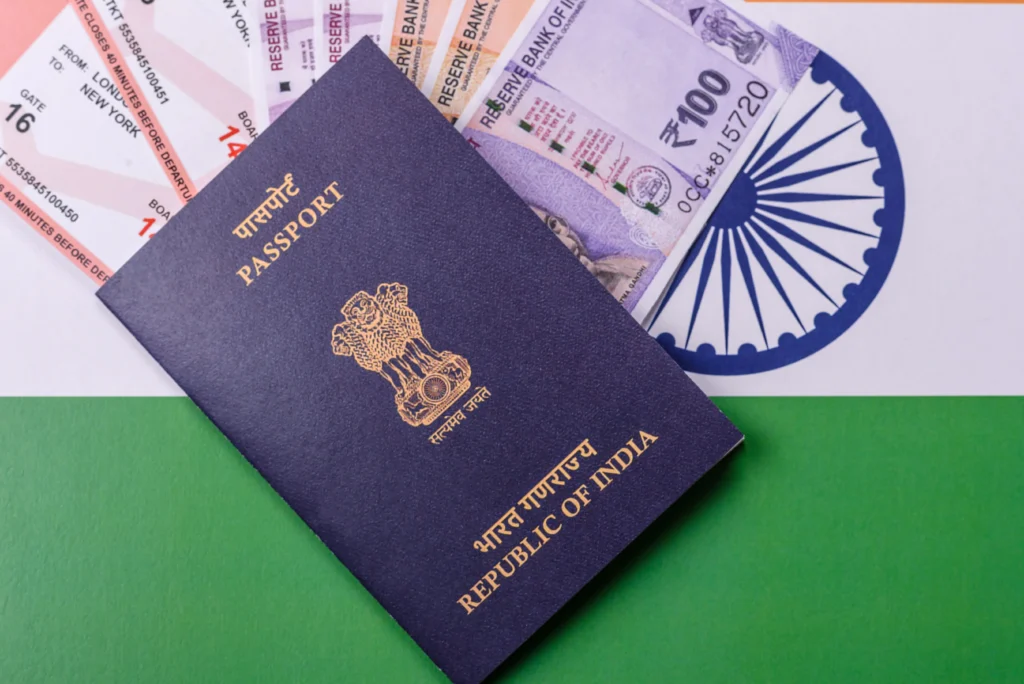
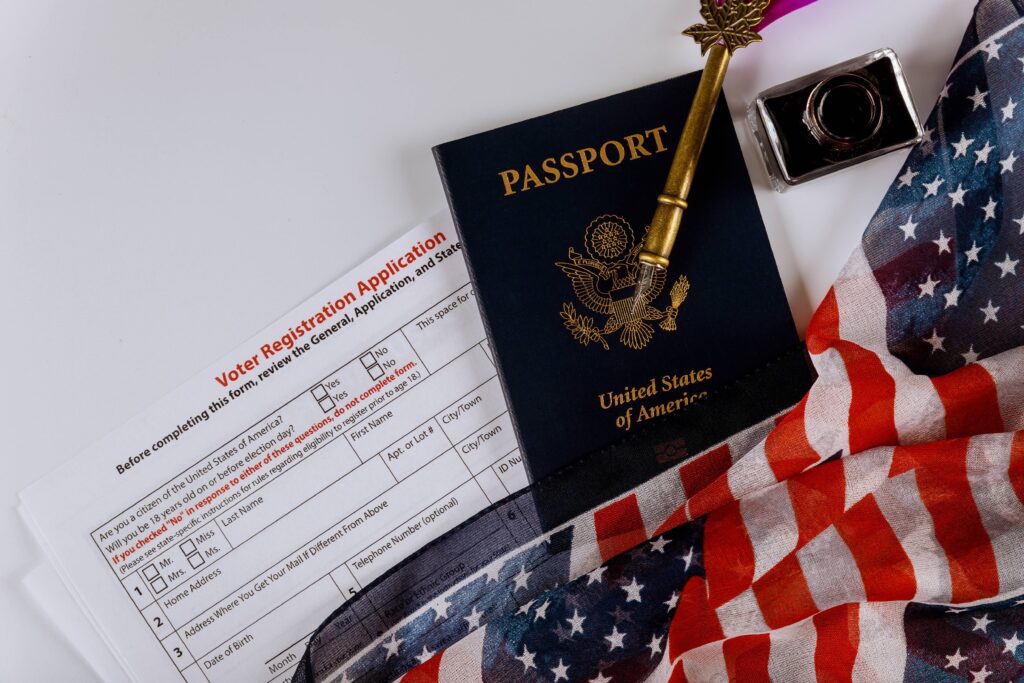
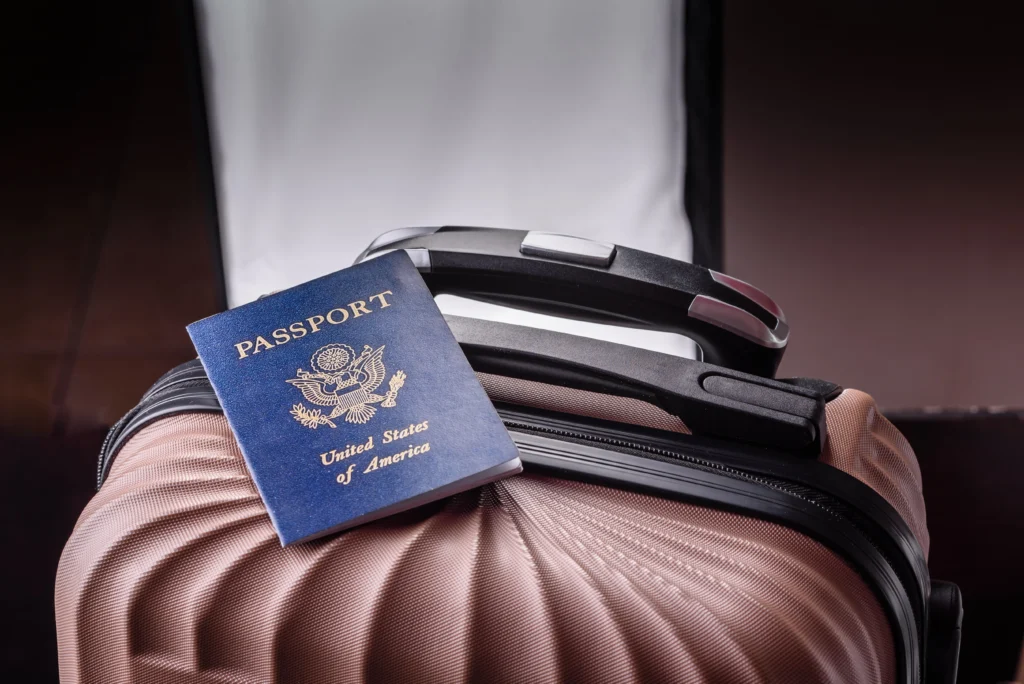
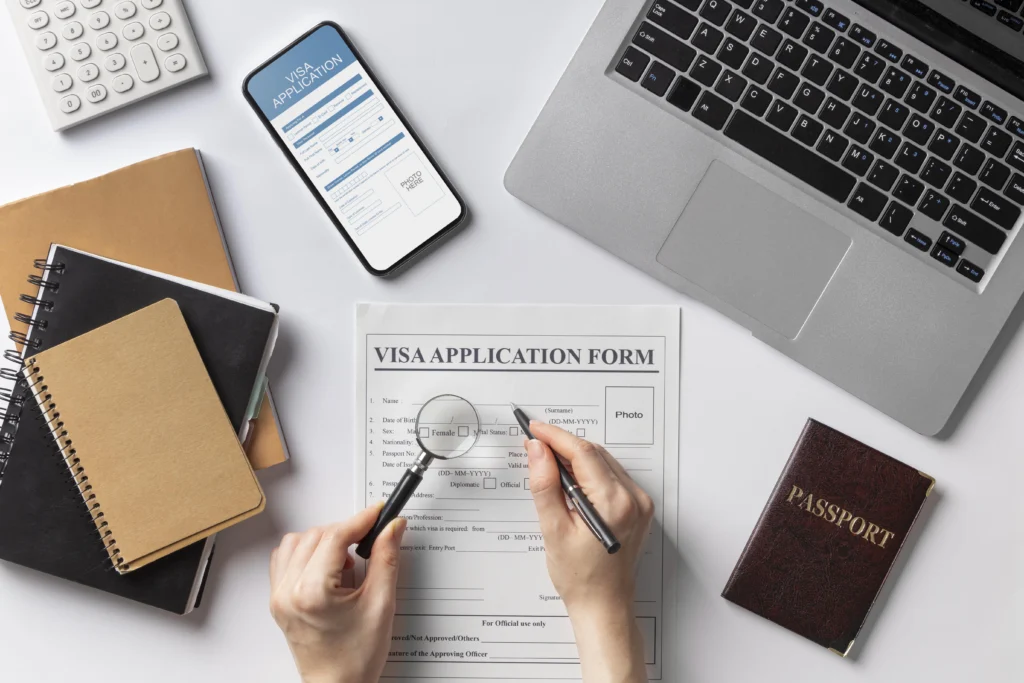
Documents That Cannot Be Missed
A work permit application depends heavily on documentation. Missing details can delay everything.
What is usually required
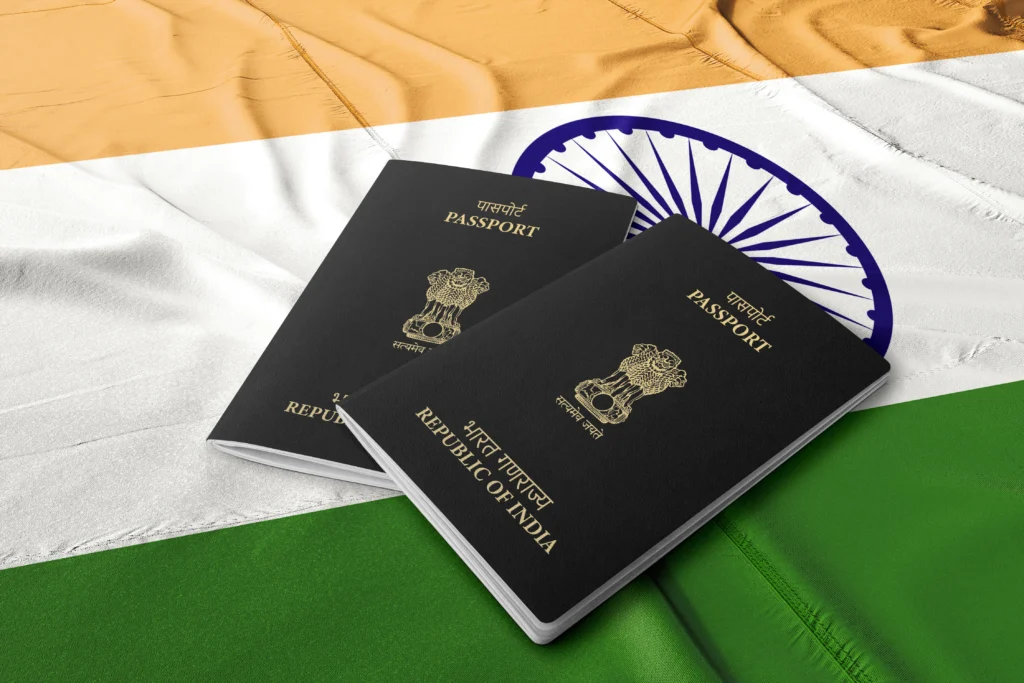
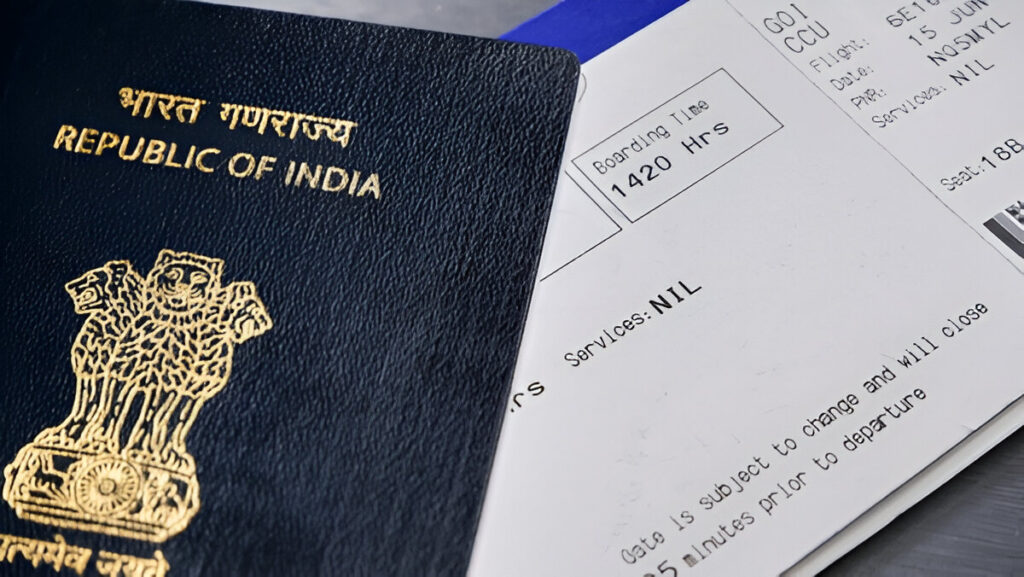
- Valid passport
- Signed job offer
- Educational background proof
- Work experience records
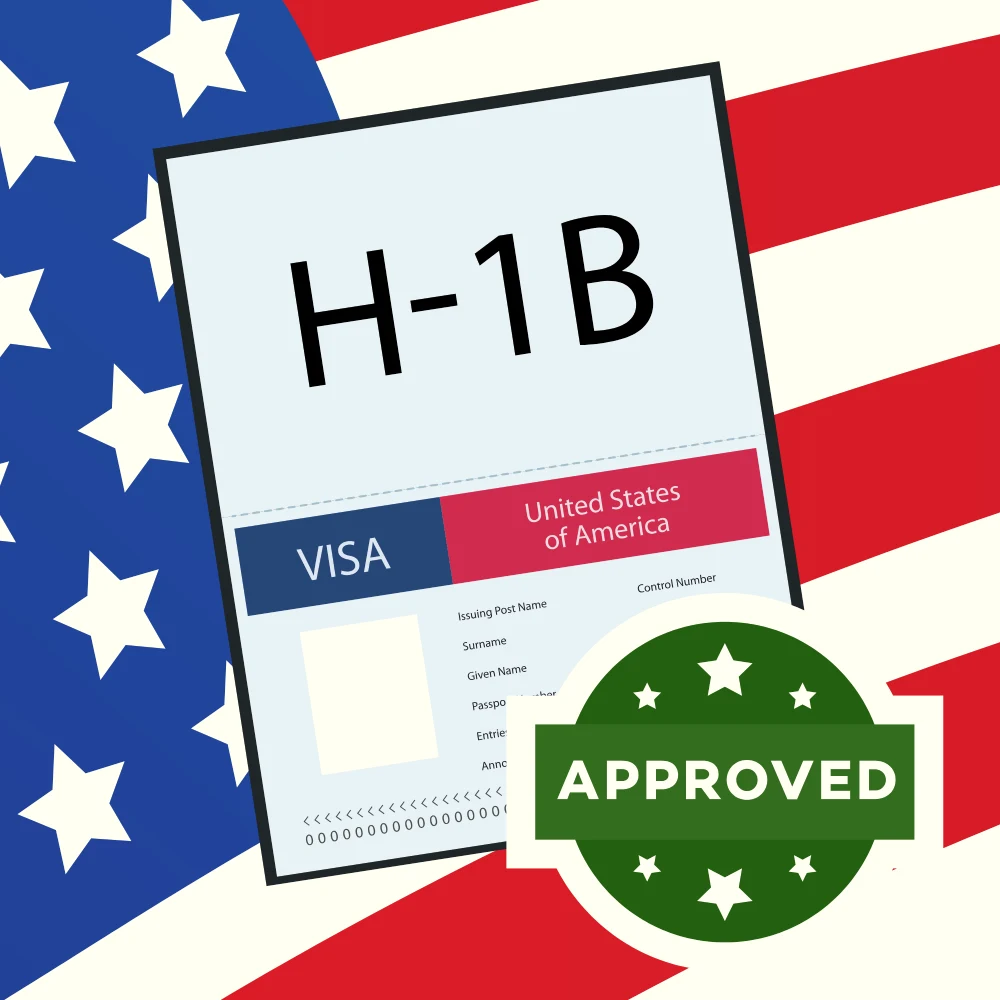
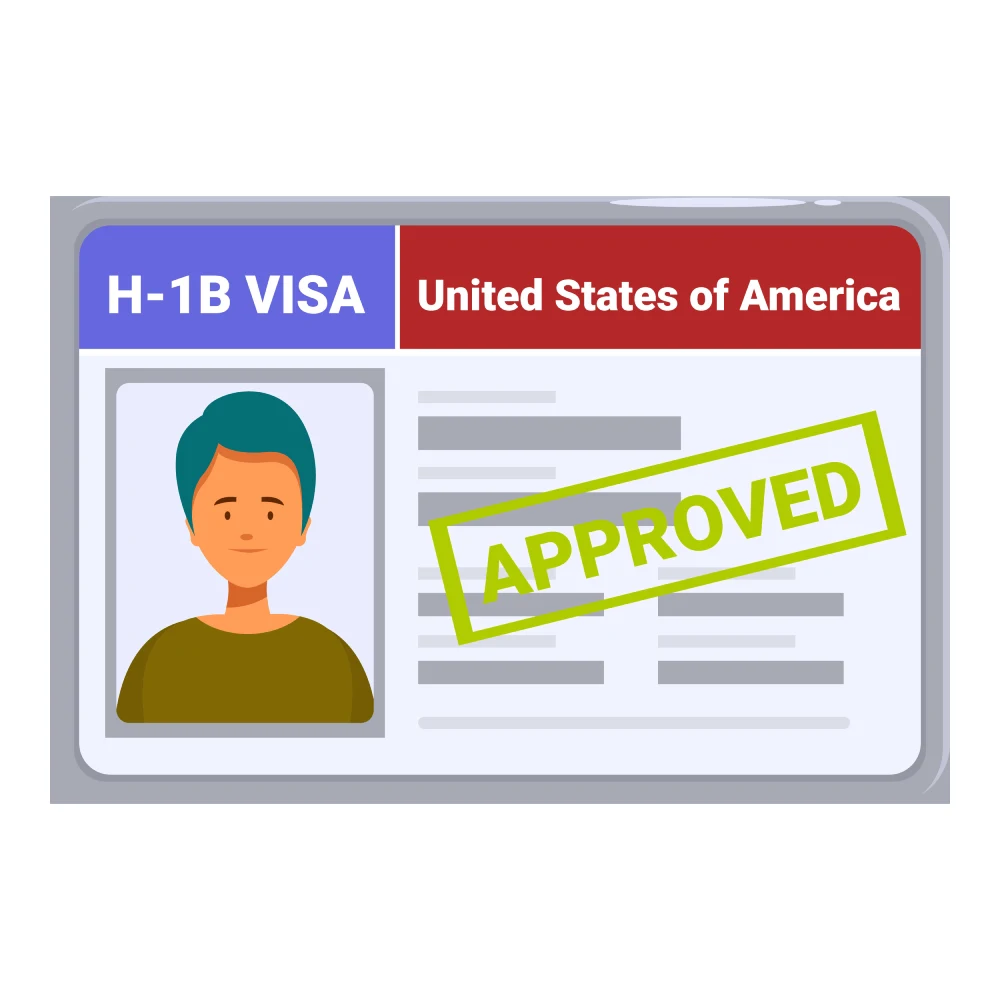
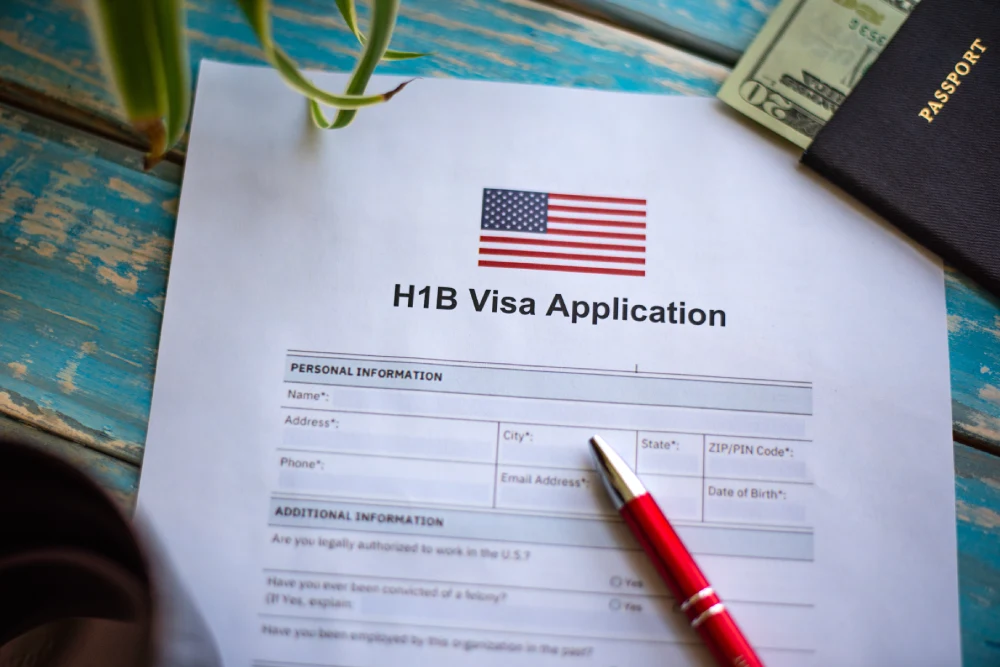
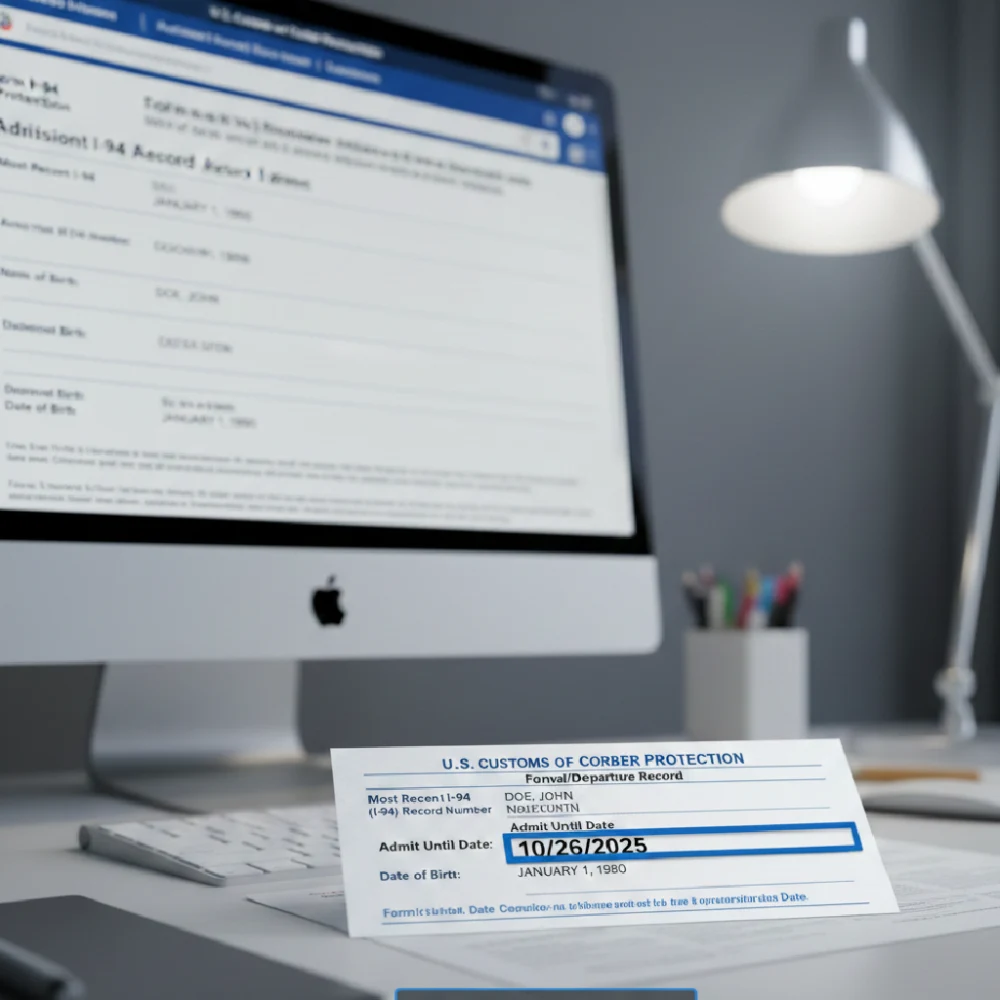
In the case of the United States
The process includes:
- Meeting h1b visa requirements
- Filing paperwork like i 129
- Approval from employer and authorities
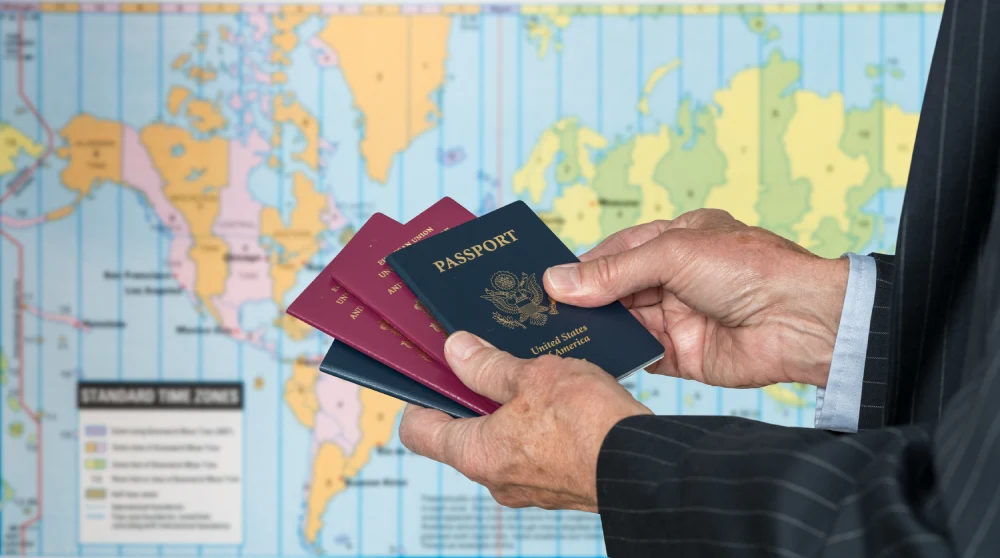
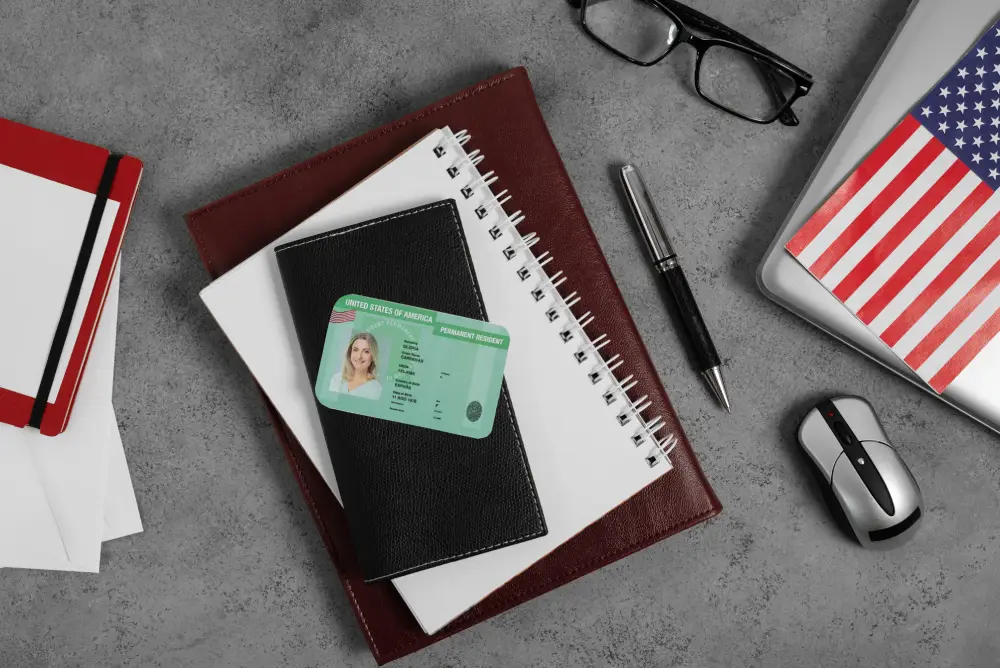
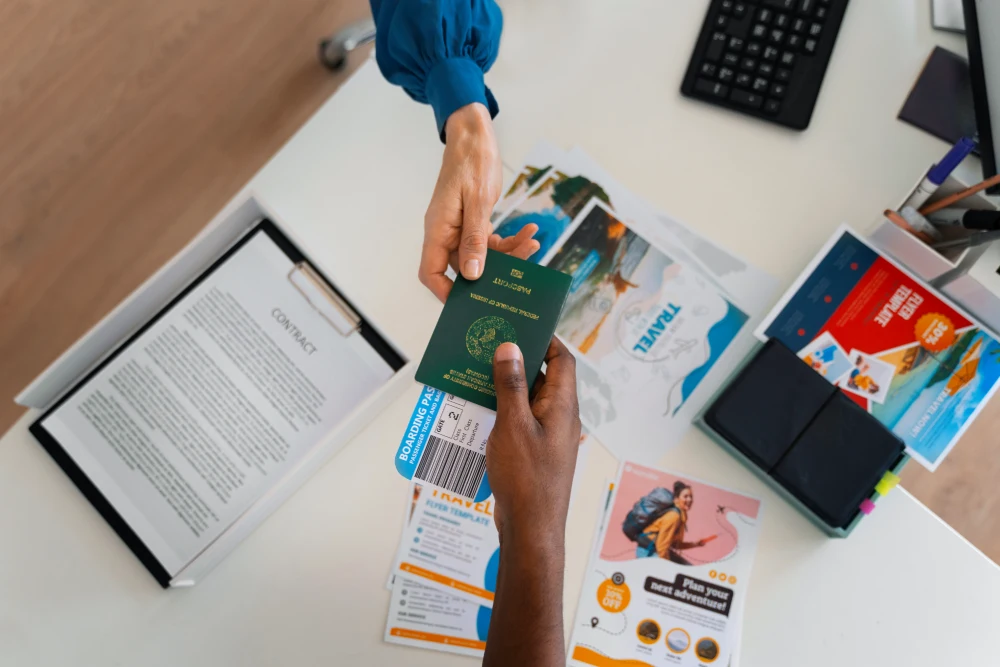
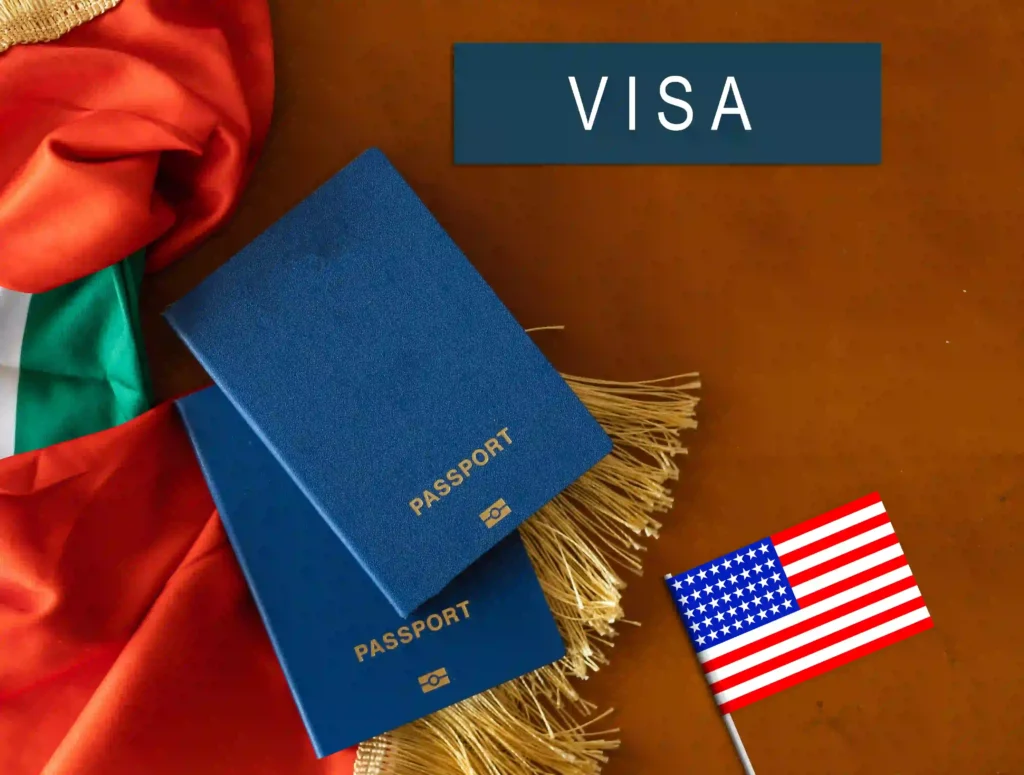
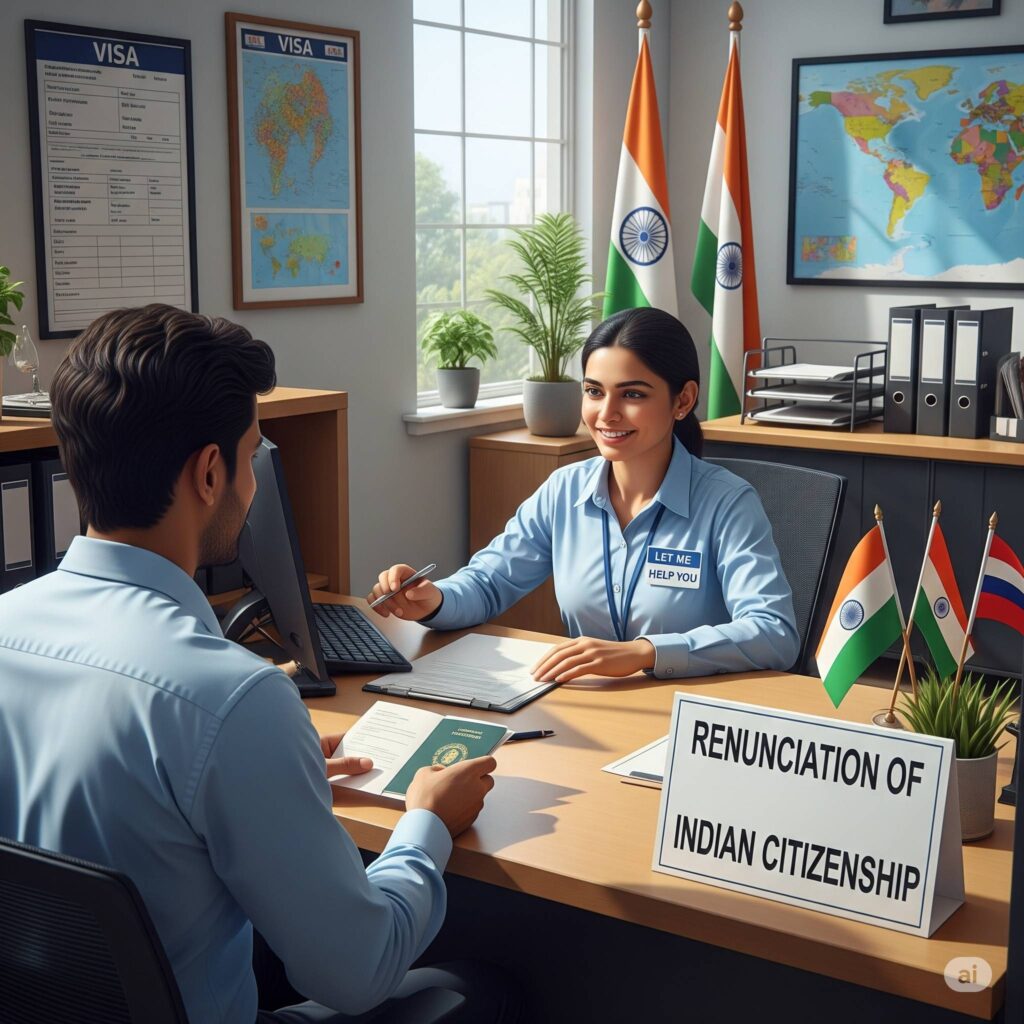
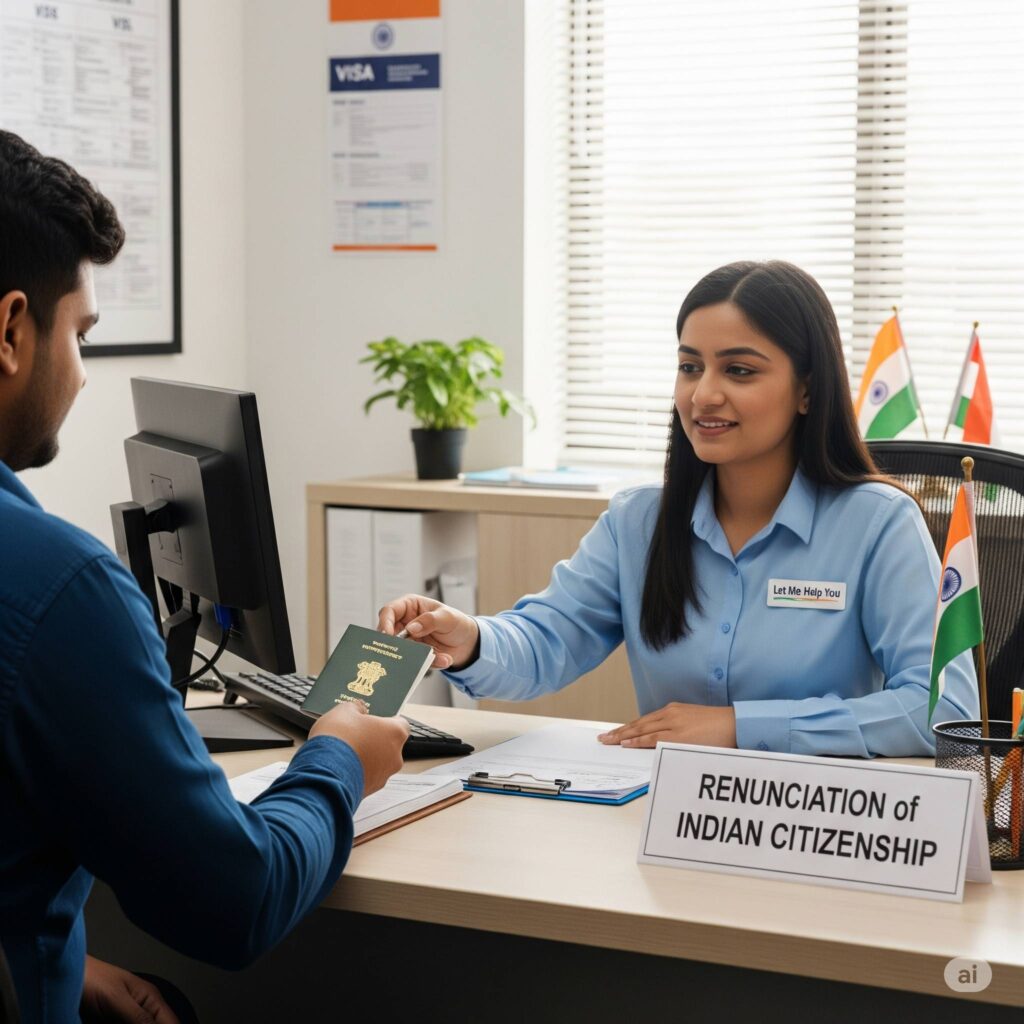
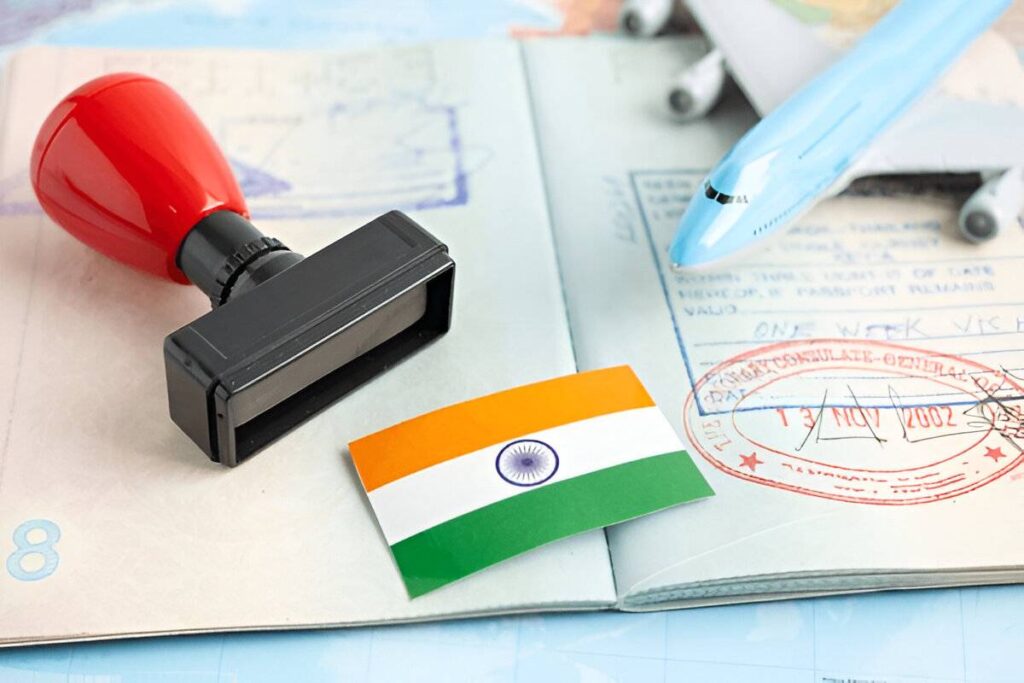
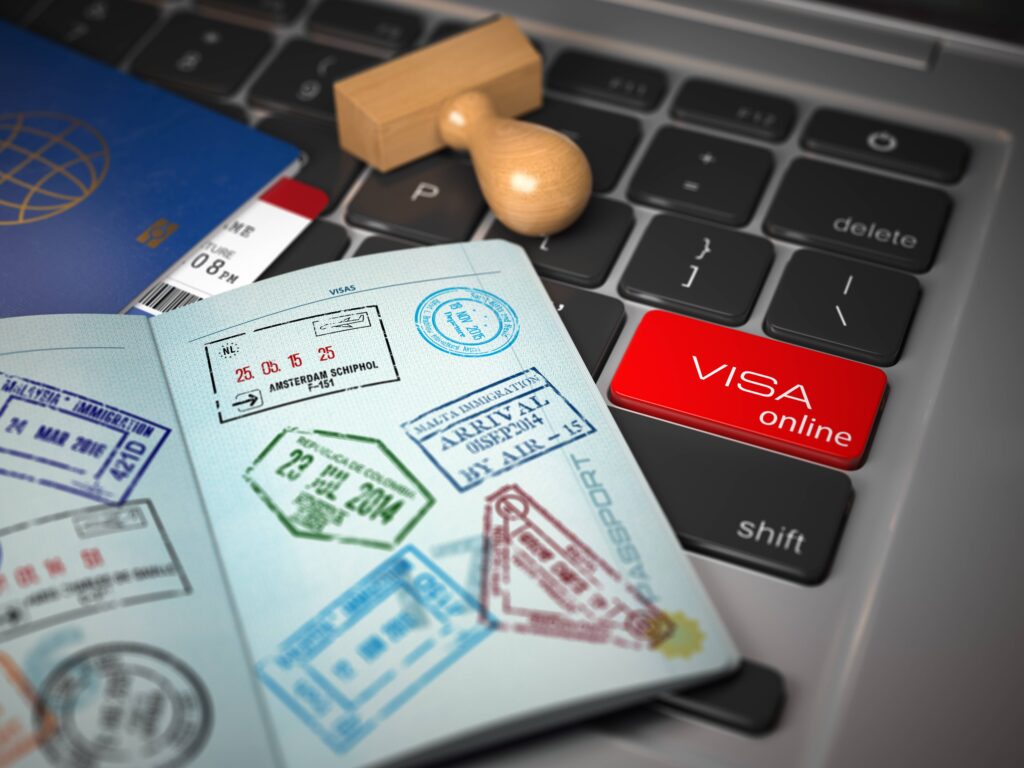
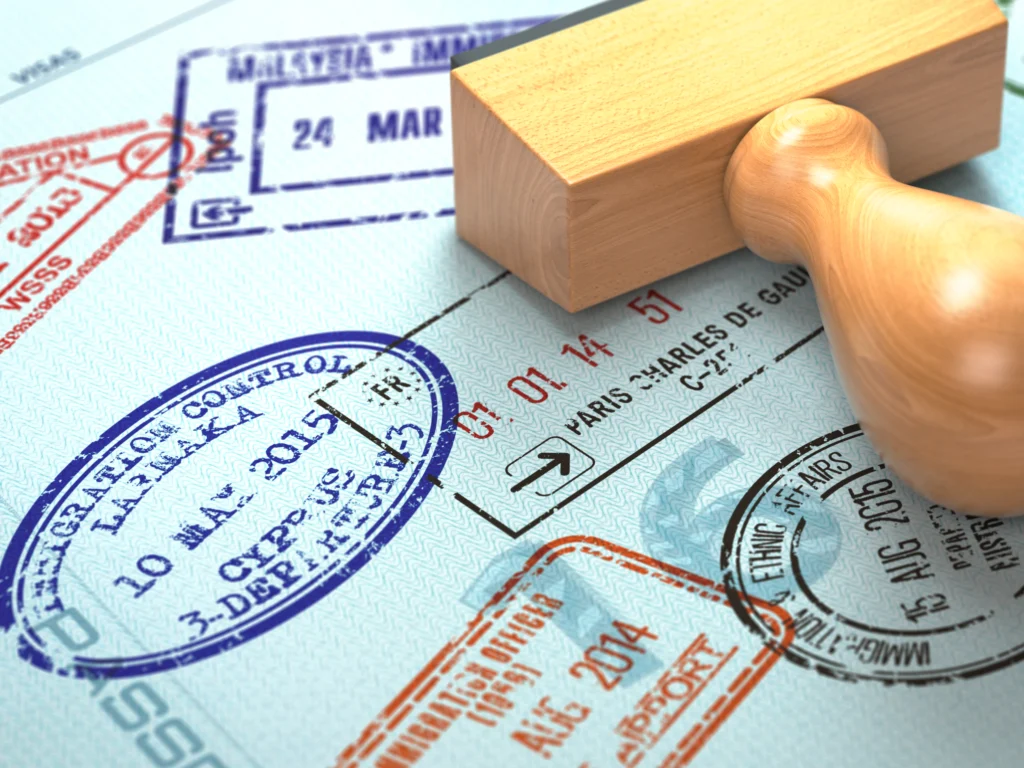
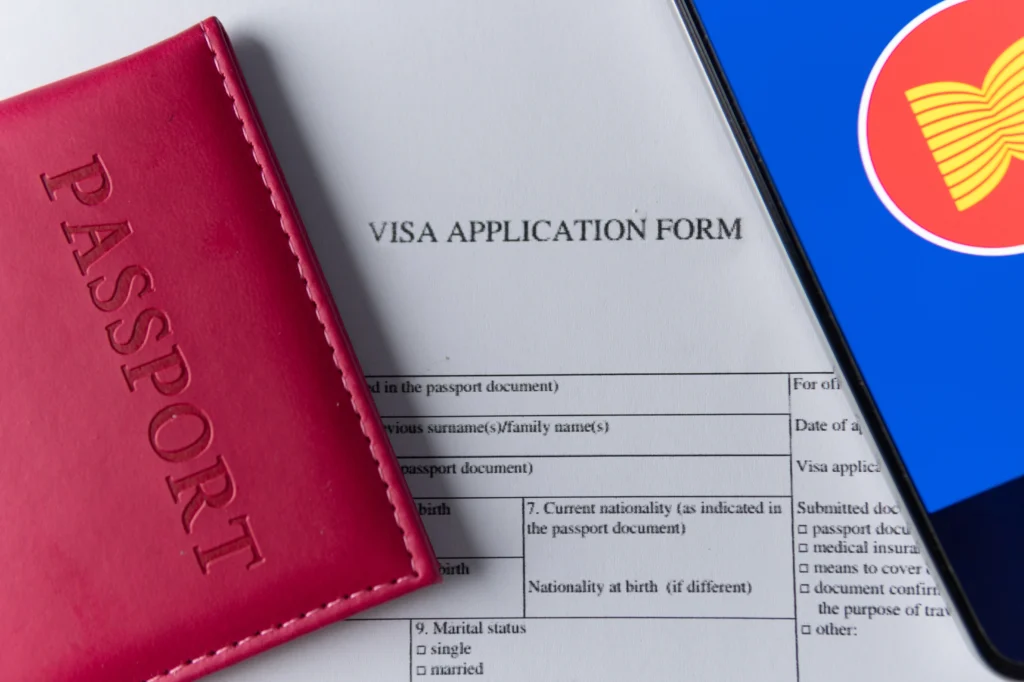
Work Permit and Work Visa Difference
Many people mix these two.
A work permit work visa sounds like one thing, but they serve different roles.
| Work Permit | Work Visa |
| Allows working | Allows entry |
| Issued after job approval | Issued before travel |
| Job-specific | Travel-specific |
Both are needed in most cases, not one instead of the other.
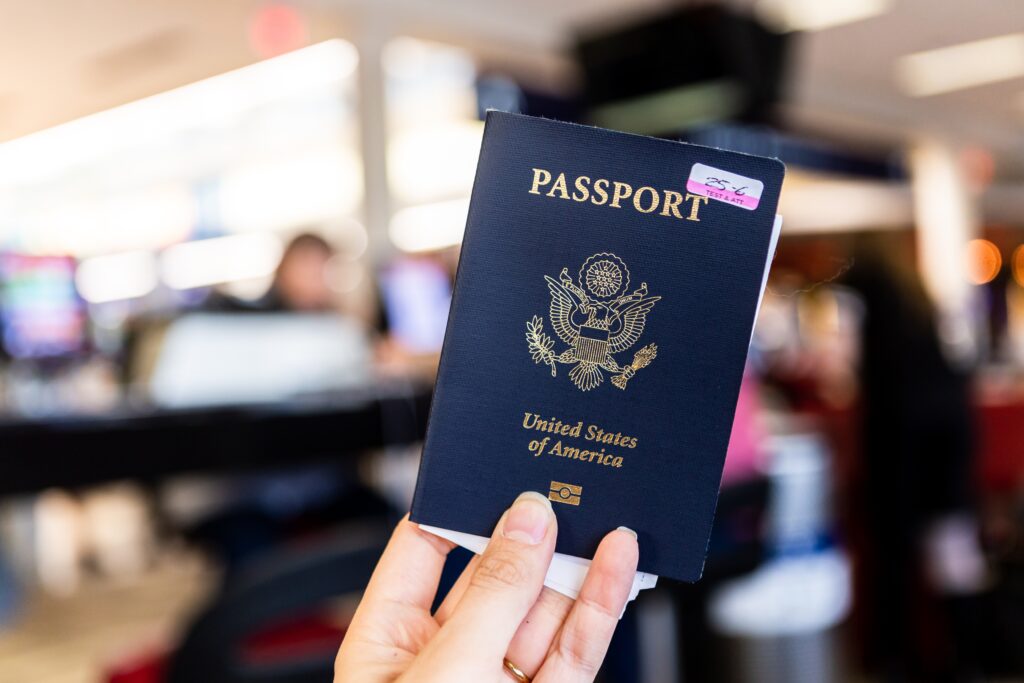
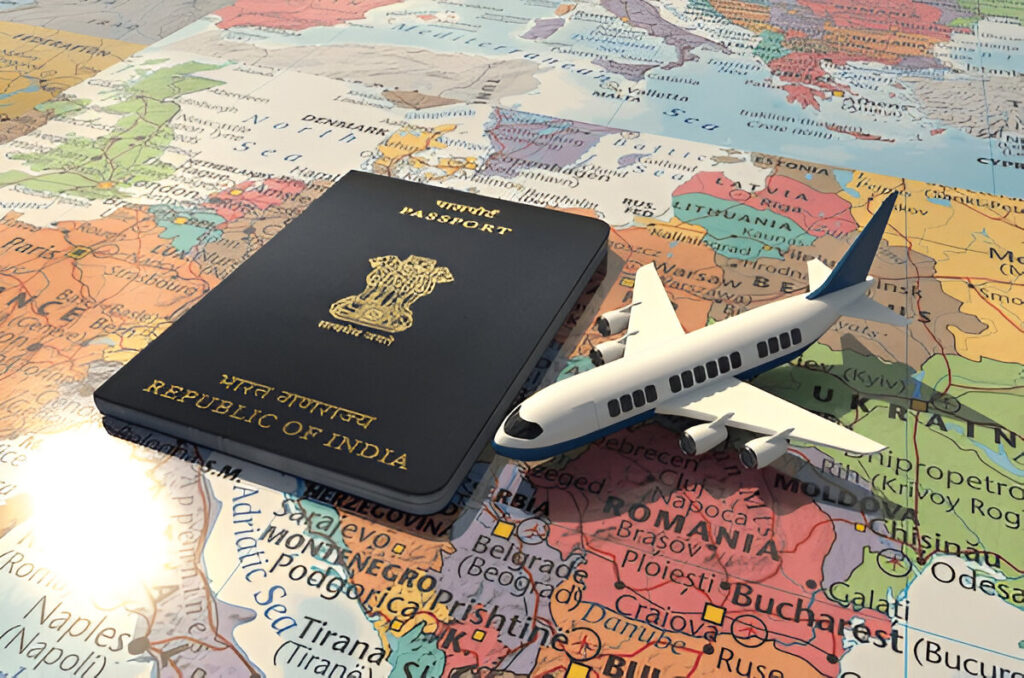
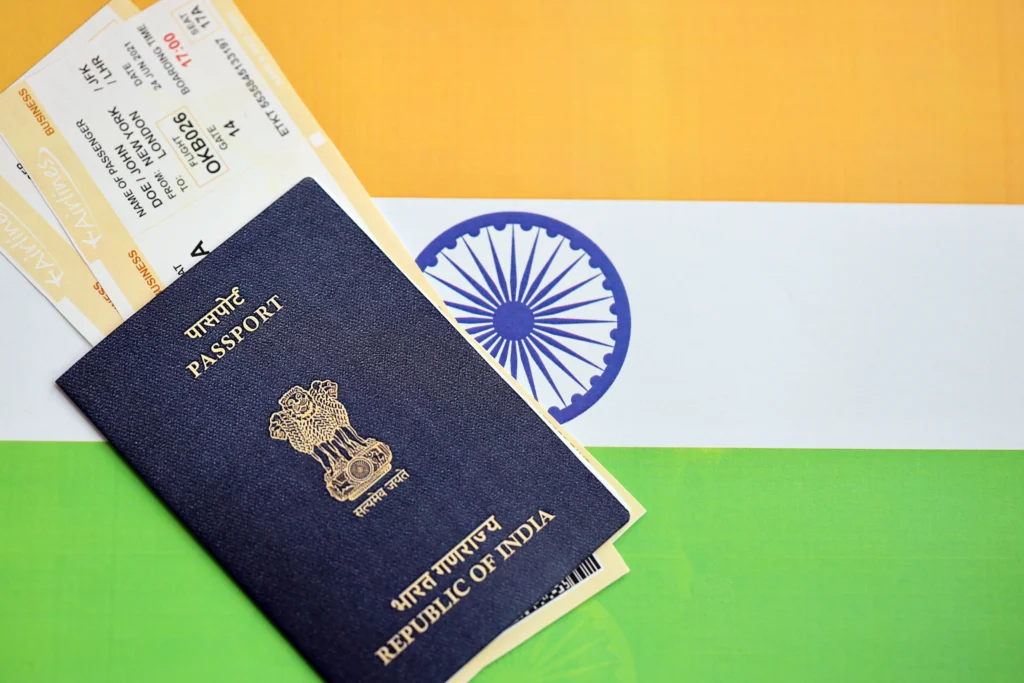
Countries That Offer Strong Opportunities
Some countries are more open and structured when it comes to hiring foreign workers.
Where demand is high
- United States for skilled professionals
- Canada for flexible immigration systems
- Australia for visa work and holiday programs
- European countries for technical roles
Each option still depends on securing a work permit.
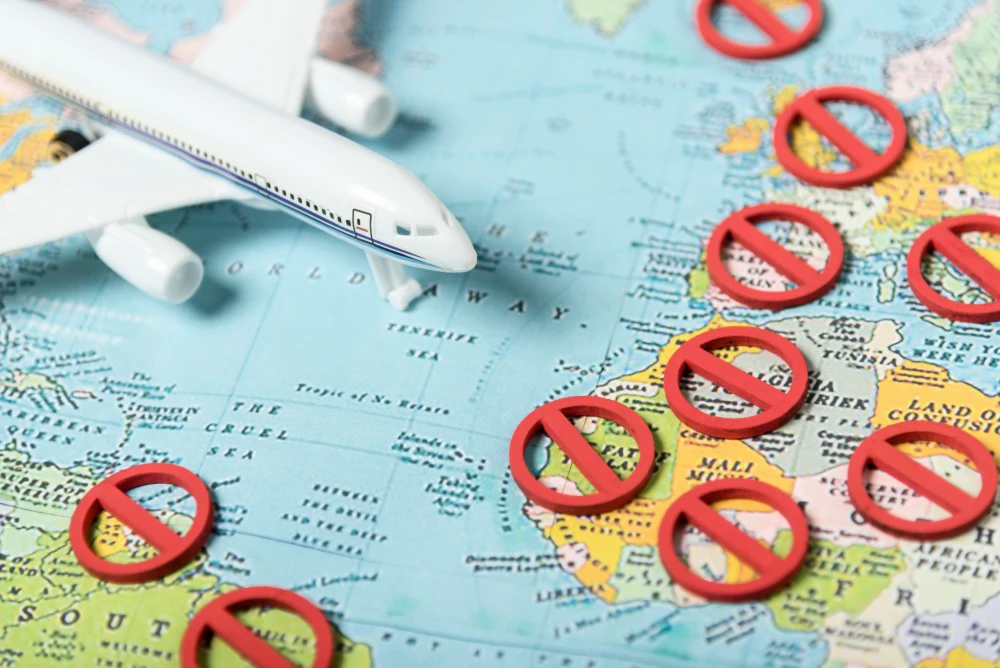
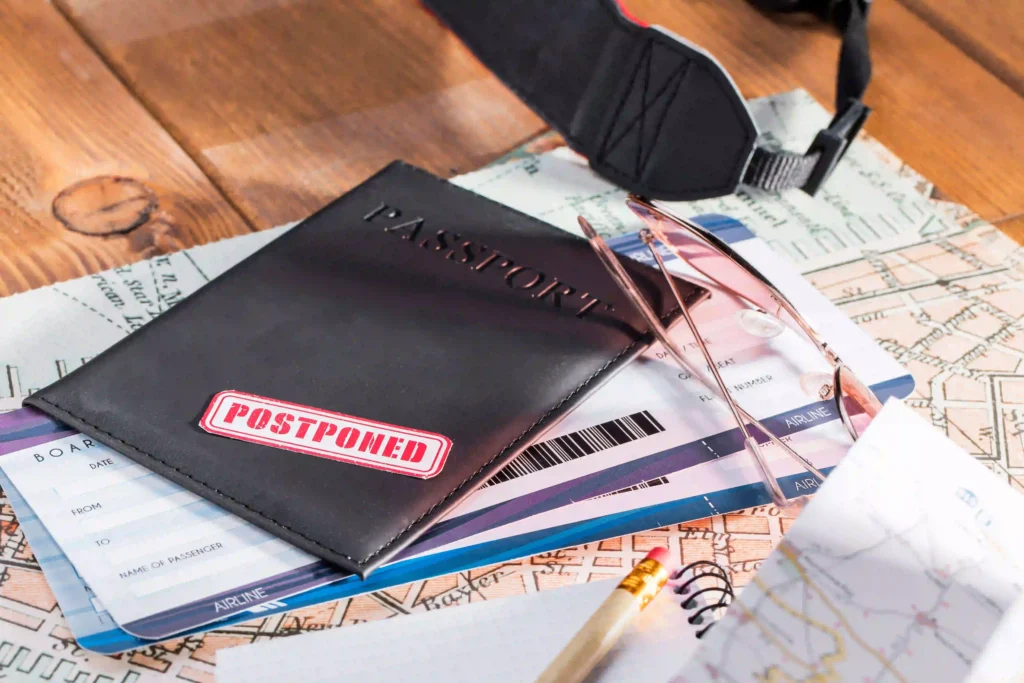
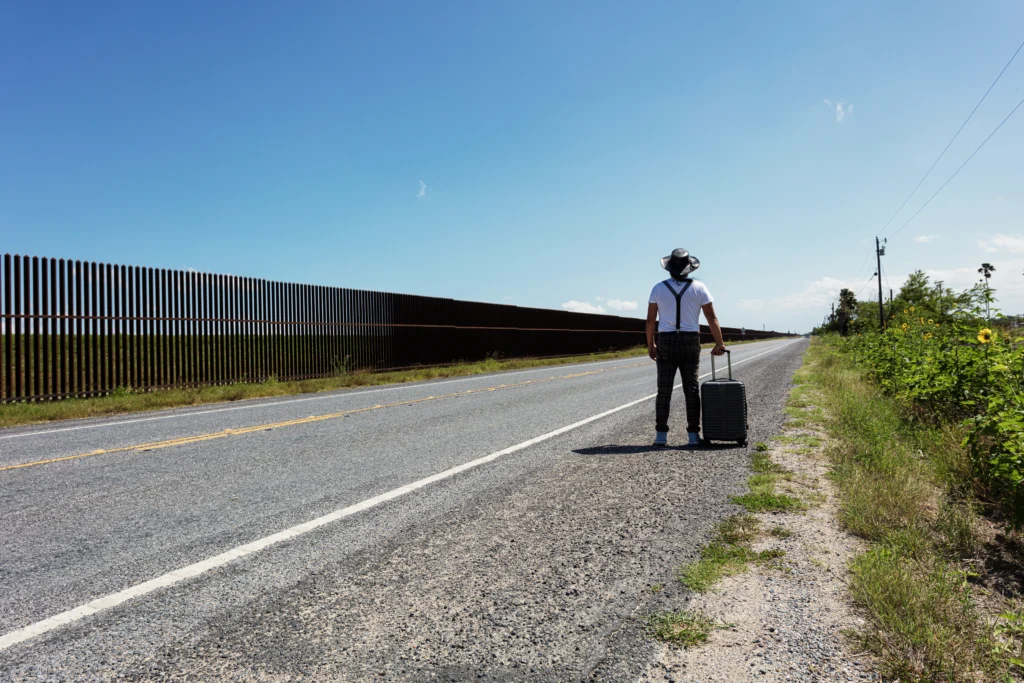
Challenges That Come Along
Nothing valuable comes without effort. A work permit process has its own hurdles.
What people usually face
- Processing delays
- Strict eligibility checks
- Dependence on employer support
How people handle it
- Preparing documents early
- Applying to multiple opportunities
- Staying updated with requirements
Consistency makes a difference here.

What Is W Visa
Another term that appears often is what is w visa.
It is not commonly used everywhere.
- Applies to specific job categories
- Limited availability depending on country
- Less popular than standard work permits
It is usually not the first option most people go for.
Practical Tips That Make a Difference
Small improvements can increase approval chances.
What actually helps
- Relevant and updated experience
- A clean and complete work permit application
- Good communication skills
- Choosing the right job category
It is less about luck and more about preparation.
Is a Work Permit Really Worth It
Looking at the full picture, a work permit is more than just a document.
It changes:
- Income level
- Career direction
- Long-term opportunities
For many, it becomes the starting point of a completely different life path.
Frequently Asked Questions
What Is a Work Permit and Who Needs It?
Employers or sponsors usually file it—think permit workers chasing american visa work opportunities. Tourist visas block paid gigs, so anyone planning visa careers abroad grabs this instead. Durations hit up to 3 years, but rules vary by nation.
How Can I Obtain a Work Permit Without Confusion?
Land a solid job offer first, then tackle the work permit application with exact docs like passport, CV, and skills proof. Employers often file I 129 forms; follow official steps via USCIS sites—no shortcuts. Track online, expect 3-6 months, and double-check lists to dodge mix-ups.
Is Visa for Working the Same as a Work Permit?
A visa for working gets you across the border, but the work permit unlocks actual employment once inside. They pair up often, like in work permit work visa combos, yet serve distinct roles. Grab both for smooth guest worker starts.
What are h1b visa requirements in simple terms?
H1b visa requirements include having a specialized job offer, employer sponsorship, and submitting documents like i 129 for approval by authorities.
What does a guest worker mean?
A guest worker is someone hired for a short-term job, usually in seasonal industries like agriculture or tourism, under specific permit conditions.
How long does a work permit application usually take?
A work permit application can take weeks or months depending on the country, type of job, and how complete the submitted documents are.
What is visa work and holiday program used for?
Visa work and holiday programs allow people to travel and work temporarily, helping them earn while experiencing a new culture and environment.
What is w visa and is it common?
It refers to a less common visa type used in specific cases, and it is not as widely available as standard work permits.
Can jobs be changed while on a work permit?
Some work permit types allow job changes, while others are tied to one employer, so it depends on the rules of the issuing country.
Are visa careers better for long-term growth?
Visa careers often provide better income, global exposure, and stronger career growth compared to local opportunities, making them a preferred choice.